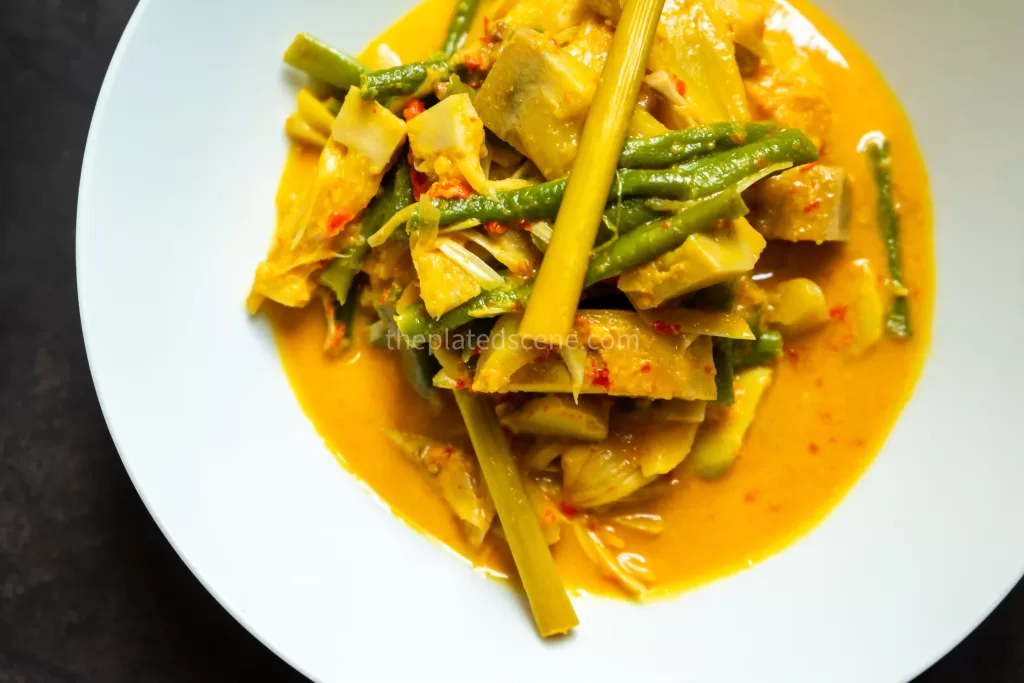
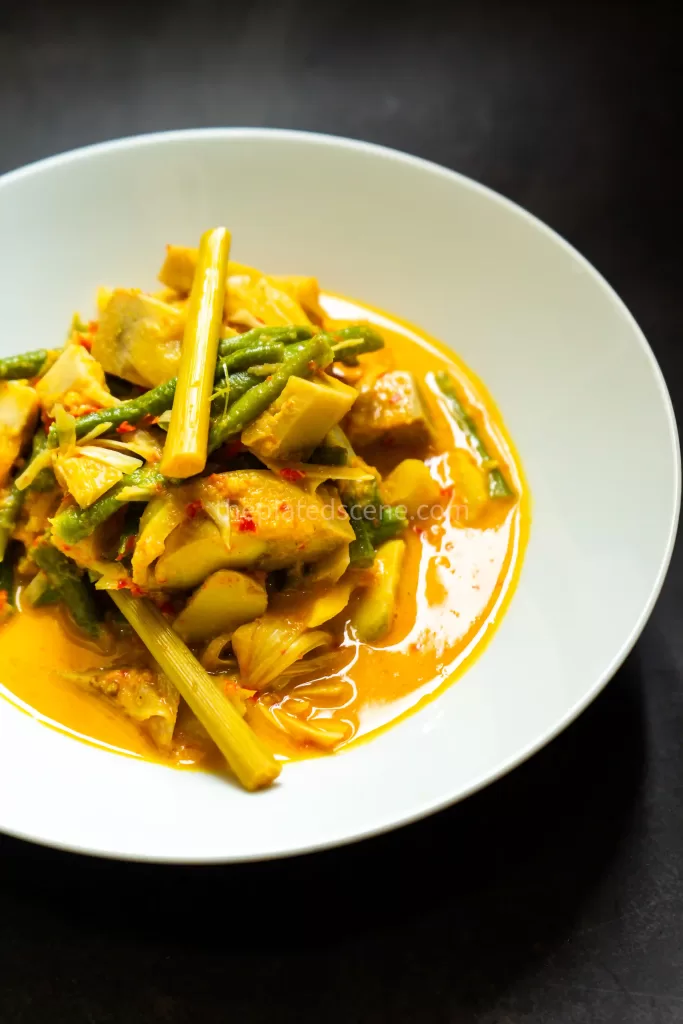
If you’re looking for a hearty, flavorful, completely meat-free dish, Gulai Nangka is the answer! This beloved Indonesian dish features young jackfruit cooked in a rich, aromatic coconut yellow curry. As its name suggests, the star of this dish is nangka (young jackfruit), simmered in spices and coconut milk, sometimes accompanied by vegetables like long beans. One of the best things about Gulai Nangka is that the flavors deepen over time, making it even more delicious the day after cooking.
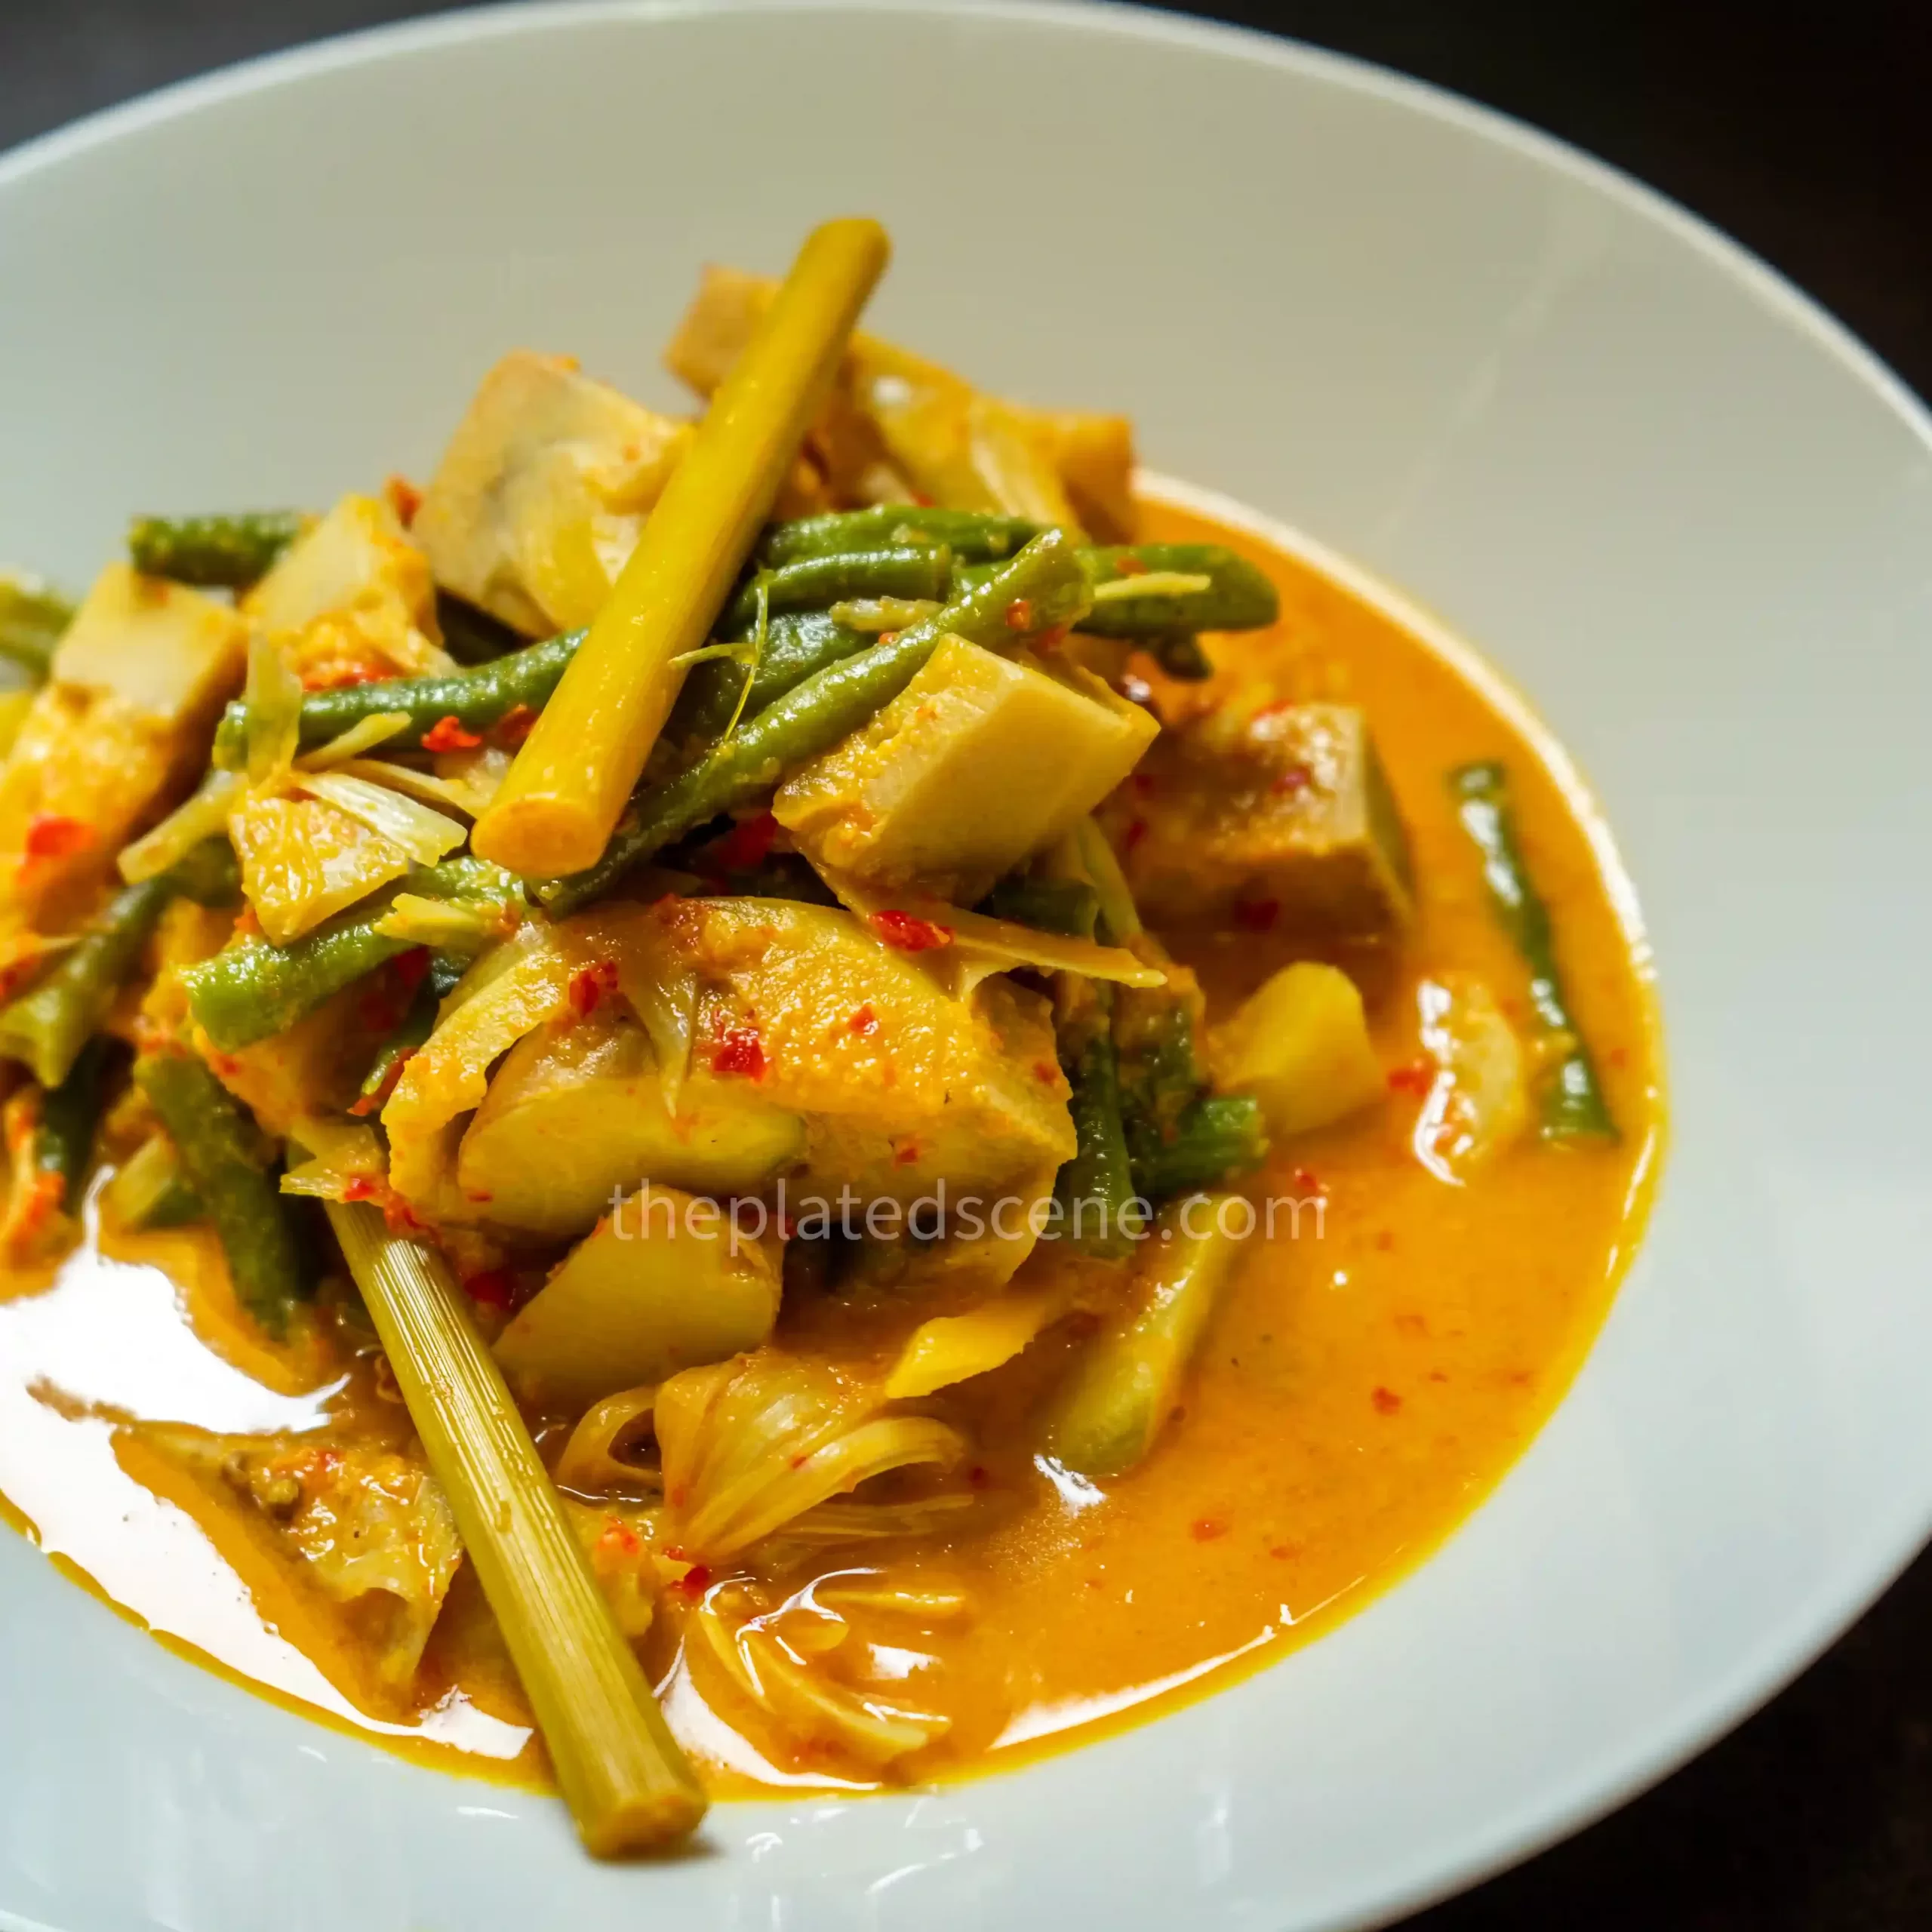
Table of Contents
A Staple of Padang Cuisine
Gulai Nangka is a signature dish of Padang Cuisine, which hails from Padang, the capital city of West Sumatra. Padang Cuisine is renowned for its bold, spicy flavors, and Gulai Nangka is no exception. It’s a common sight in warung Padang (Padang restaurants), where it’s served alongside steamed rice and other classics like Rendang and Sambal Ijo.
Picture this: a warm bowl of rice drenched in the flavorful gravy of Gulai Nangka, the jackfruit chunks melting in your mouth with every bite. Add a side of perkedel (Indonesian fried potato cakes) or fried tempeh, and you have a comforting and satisfying meal. If you have fried shallots in your pantry, sprinkle them on top for an extra flavor.
Try pairing Gulai Nangka with lontong (Indonesian rice cakes) for an alternative. Chop up the rice cake into chunks, pour the curry over it, and garnish with fried shallots and sambal. Don’t forget to serve it with crispy belinjo crackers for an authentic Indonesian experience!
Is Gulai the Same as Curry?
The answer is… yes and no! While Gulai Nangka is often described as an Indonesian curry, it’s slightly different from the curries you might be familiar with. In Indonesian cuisine, dishes like gulai, kari (curry), lodeh, opor, and pindang all use coconut-based gravies, but each has a unique spice blend and preparation method.
Gulai is thicker and spicier than most curries and often doesn’t include curry leaves, a staple in Indian and Thai curries. Instead, Gulai combines turmeric, coriander, cumin, and galangal to achieve its distinct flavor profile.
So, while it shares some similarities with curry, Gulai Nangka is a dish with its own identity—a perfect representation of Indonesia’s love for bold, coconut-based flavors.
All About Young Jackfruit (Nangka)
Nangka means jackfruit in Indonesian, and while the ripe fruit is sweet and often used in desserts, young jackfruit is neutral in flavor with a fibrous, meaty texture. This makes it an excellent meat substitute, particularly for vegetarians and vegans.
Young jackfruit has gained popularity worldwide for its resemblance to pulled pork and its status as a whole-food alternative to processed meat substitutes. It absorbs the spices beautifully when cooked, giving dishes like Gulai Nangka a rich and hearty taste.
Canned young jackfruit is an excellent substitute if you can’t find fresh. Since canned jackfruit is precooked, adjust the cooking time and water accordingly to avoid overcooking. Whether fresh or canned (like this or this), jackfruit brings this dish a unique texture and flavor.
Why You’ll Love Gulai Nangka
- Flavor Explosion: Combining spices and coconut milk creates an irresistibly rich, creamy, aromatic curry.
- Meat-Free: Perfect for vegetarians and vegans, young jackfruit is a satisfying and wholesome ingredient.
- Versatile: Pair it with rice, lontong, or favorite side dishes like sambal, fried tempeh, or belinjo crackers.
- Meal-Prep Friendly: The flavor gets even better after a day or two, making it an ideal dish for meal prep.
So, why not bring Indonesian flavors to your table and try making Gulai Nangka today? This dish will delight your taste buds and introduce you to the vibrant world of Indonesian cuisine!
Ingredients List for Gulai Nangka!
Main Ingredients
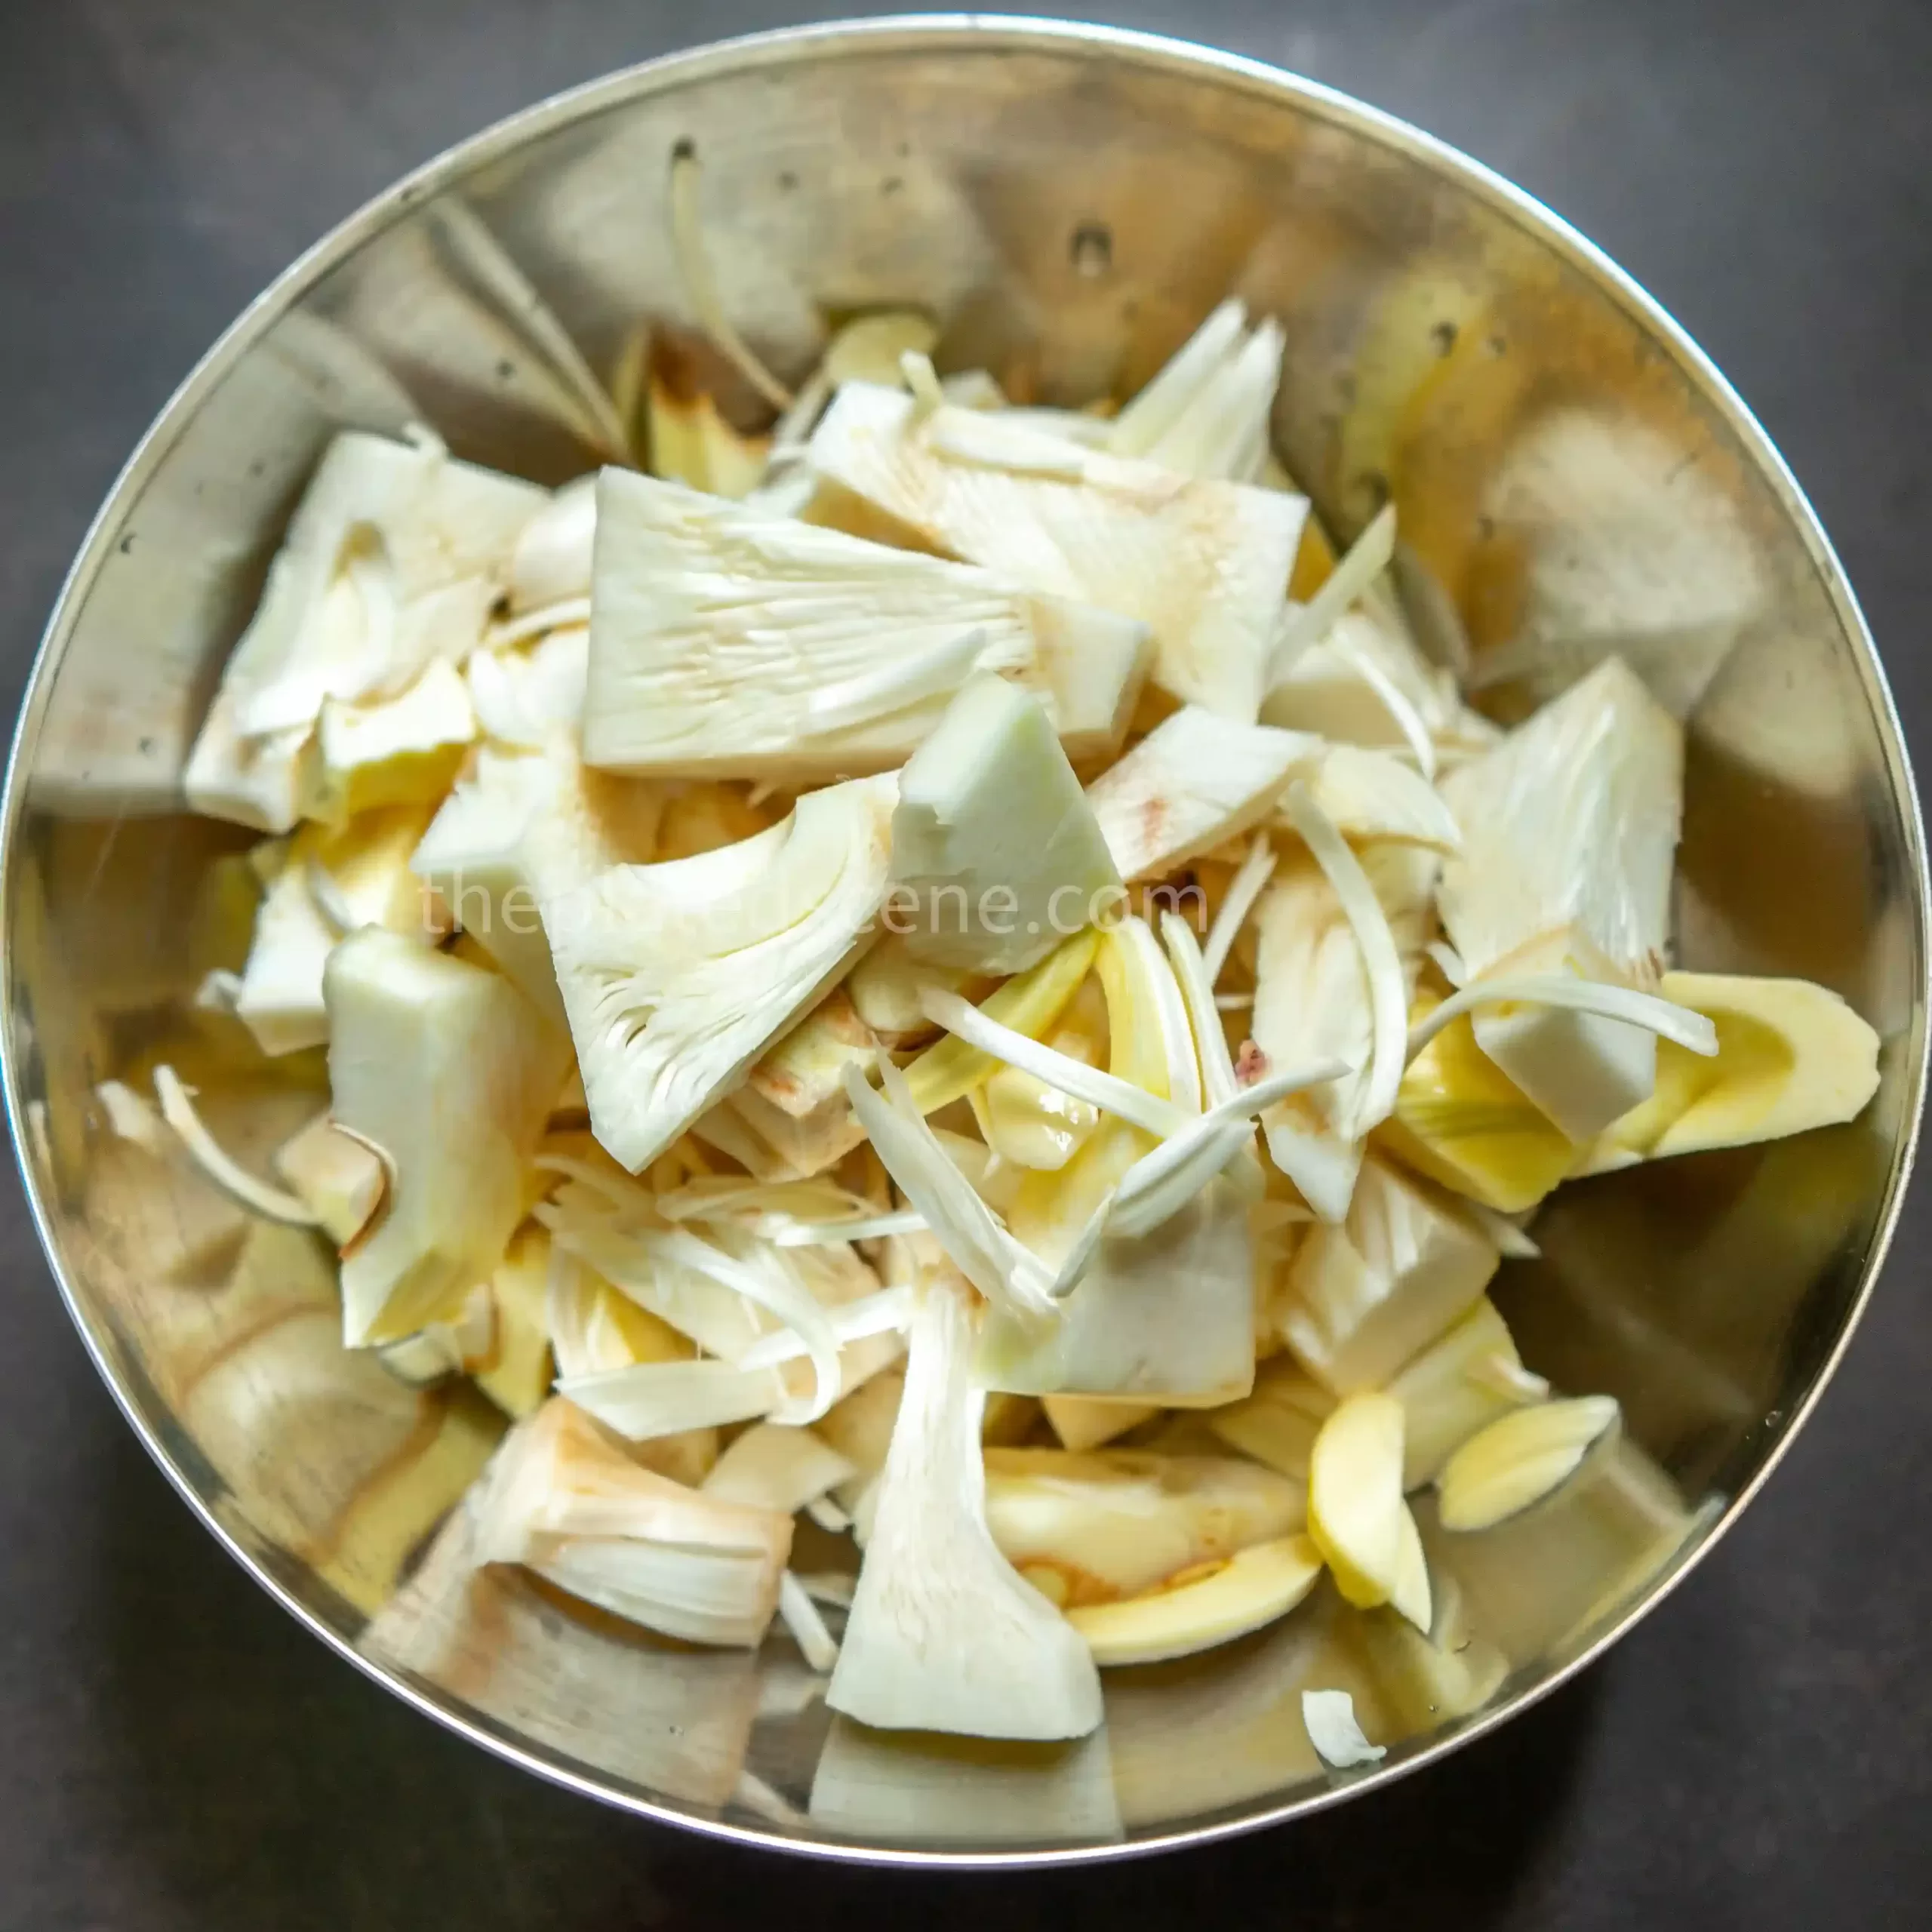
As you can guess, the main ingredient for this recipe is, drum roll please, “nangka” (jackfruit). Make sure that you get the white-colored version of jackfruit (unripe), not the yellow one (ripe). If you are using fresh jackfruit, there are a few preparation methods that you need to do before you can cook them:
- Wash the jackfruit thoroughly using running water. Cut down any unwanted area, such as a dirt-covered surface.
- Cut the jackfruit. Since jackfruit usually comes in a cylinder shape, when you cut it, it will be in a triangular prism shape. Try to cut the jackfruit into chunks that have a rough size of 3cm (for the base – please refer to the picture of the cut jackfruit below). Young jackfruit has notoriously sticky sap, so hands had to be greased thoroughly.
- If you want to remove all seeds from the fruit, the most common method is to cut the fruit in half and then use a spoon to scoop the seeds. However, it will be fine if you don’t remove the seeds since the seeds of jackfruit are edible.
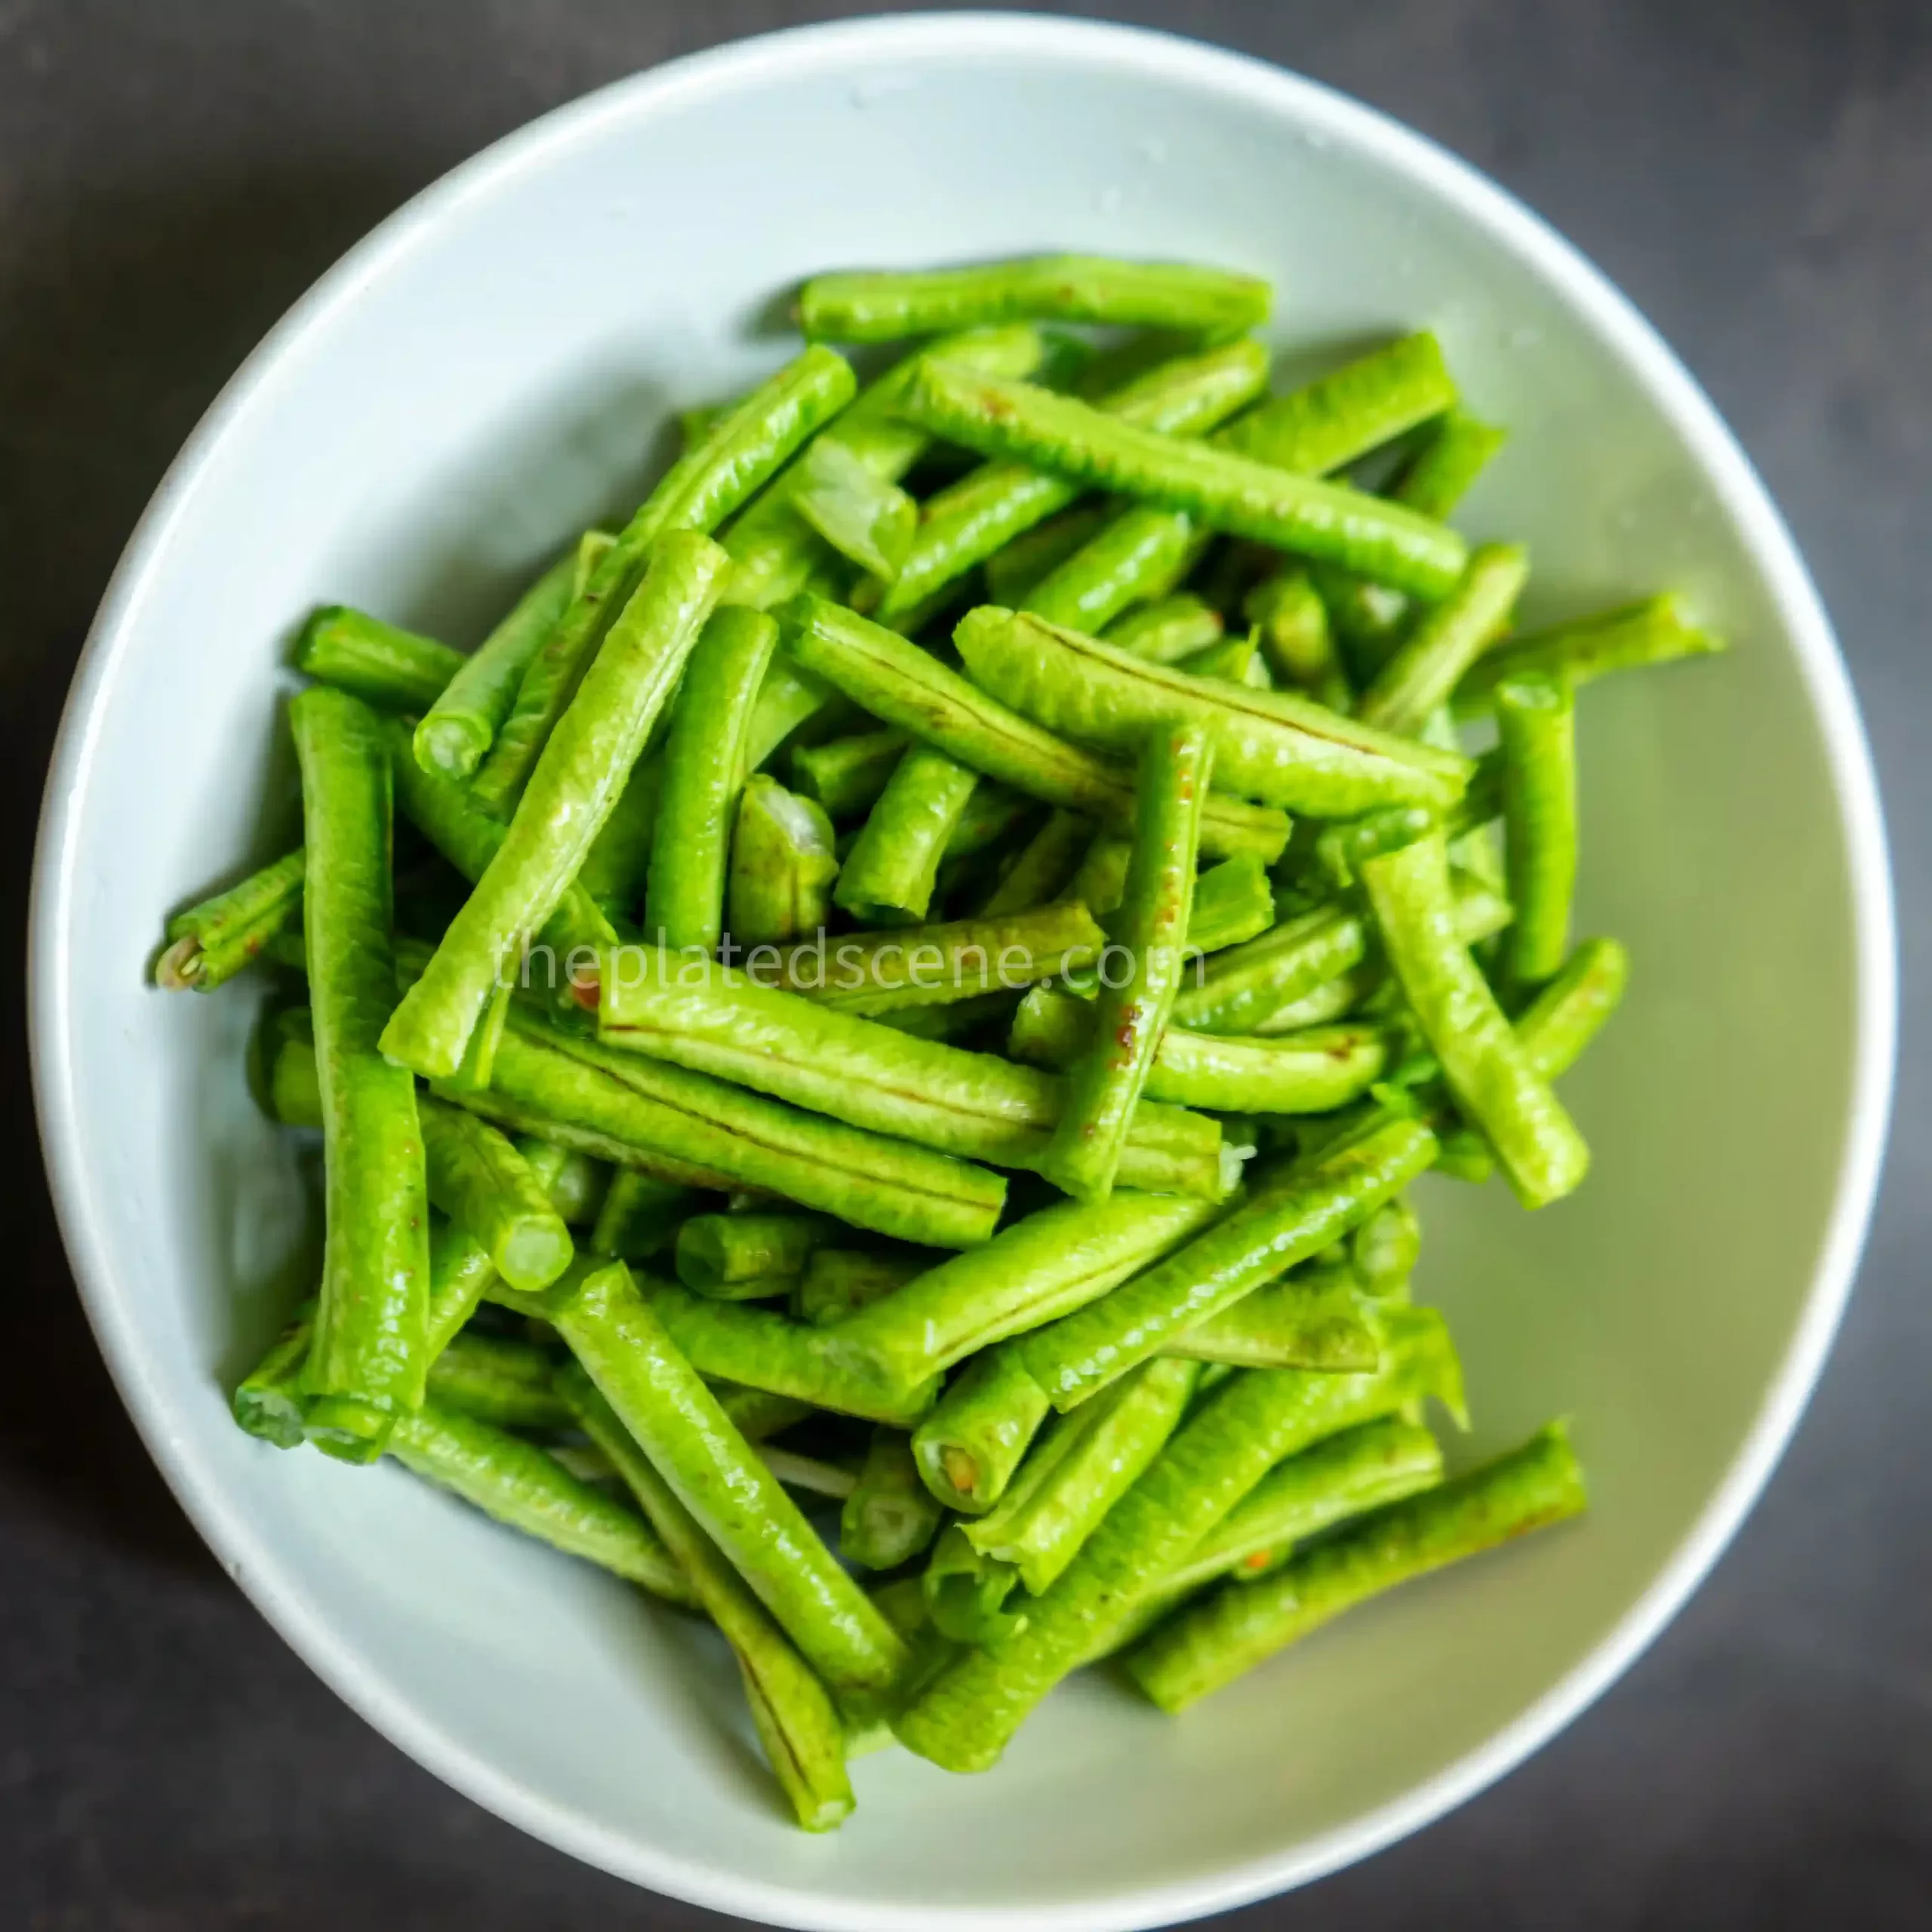
The second ingredient you would add is some additional vegetables. Usually, these can be long beans (pictured below), cabbage, or both!
- Long bean: Wash it thoroughly, remove the edges, and cut it into 2 -3 cm lengths.
- Cabbage: Wash the cabbage and cut it to your preference, but my suggestion is not to make it bigger than 5-6 cm in length.
Even though these additional vegetables are optional, it will enrich the flavor and texture of the gulai nangka.
Blended Ingredients for Gulai Nangka
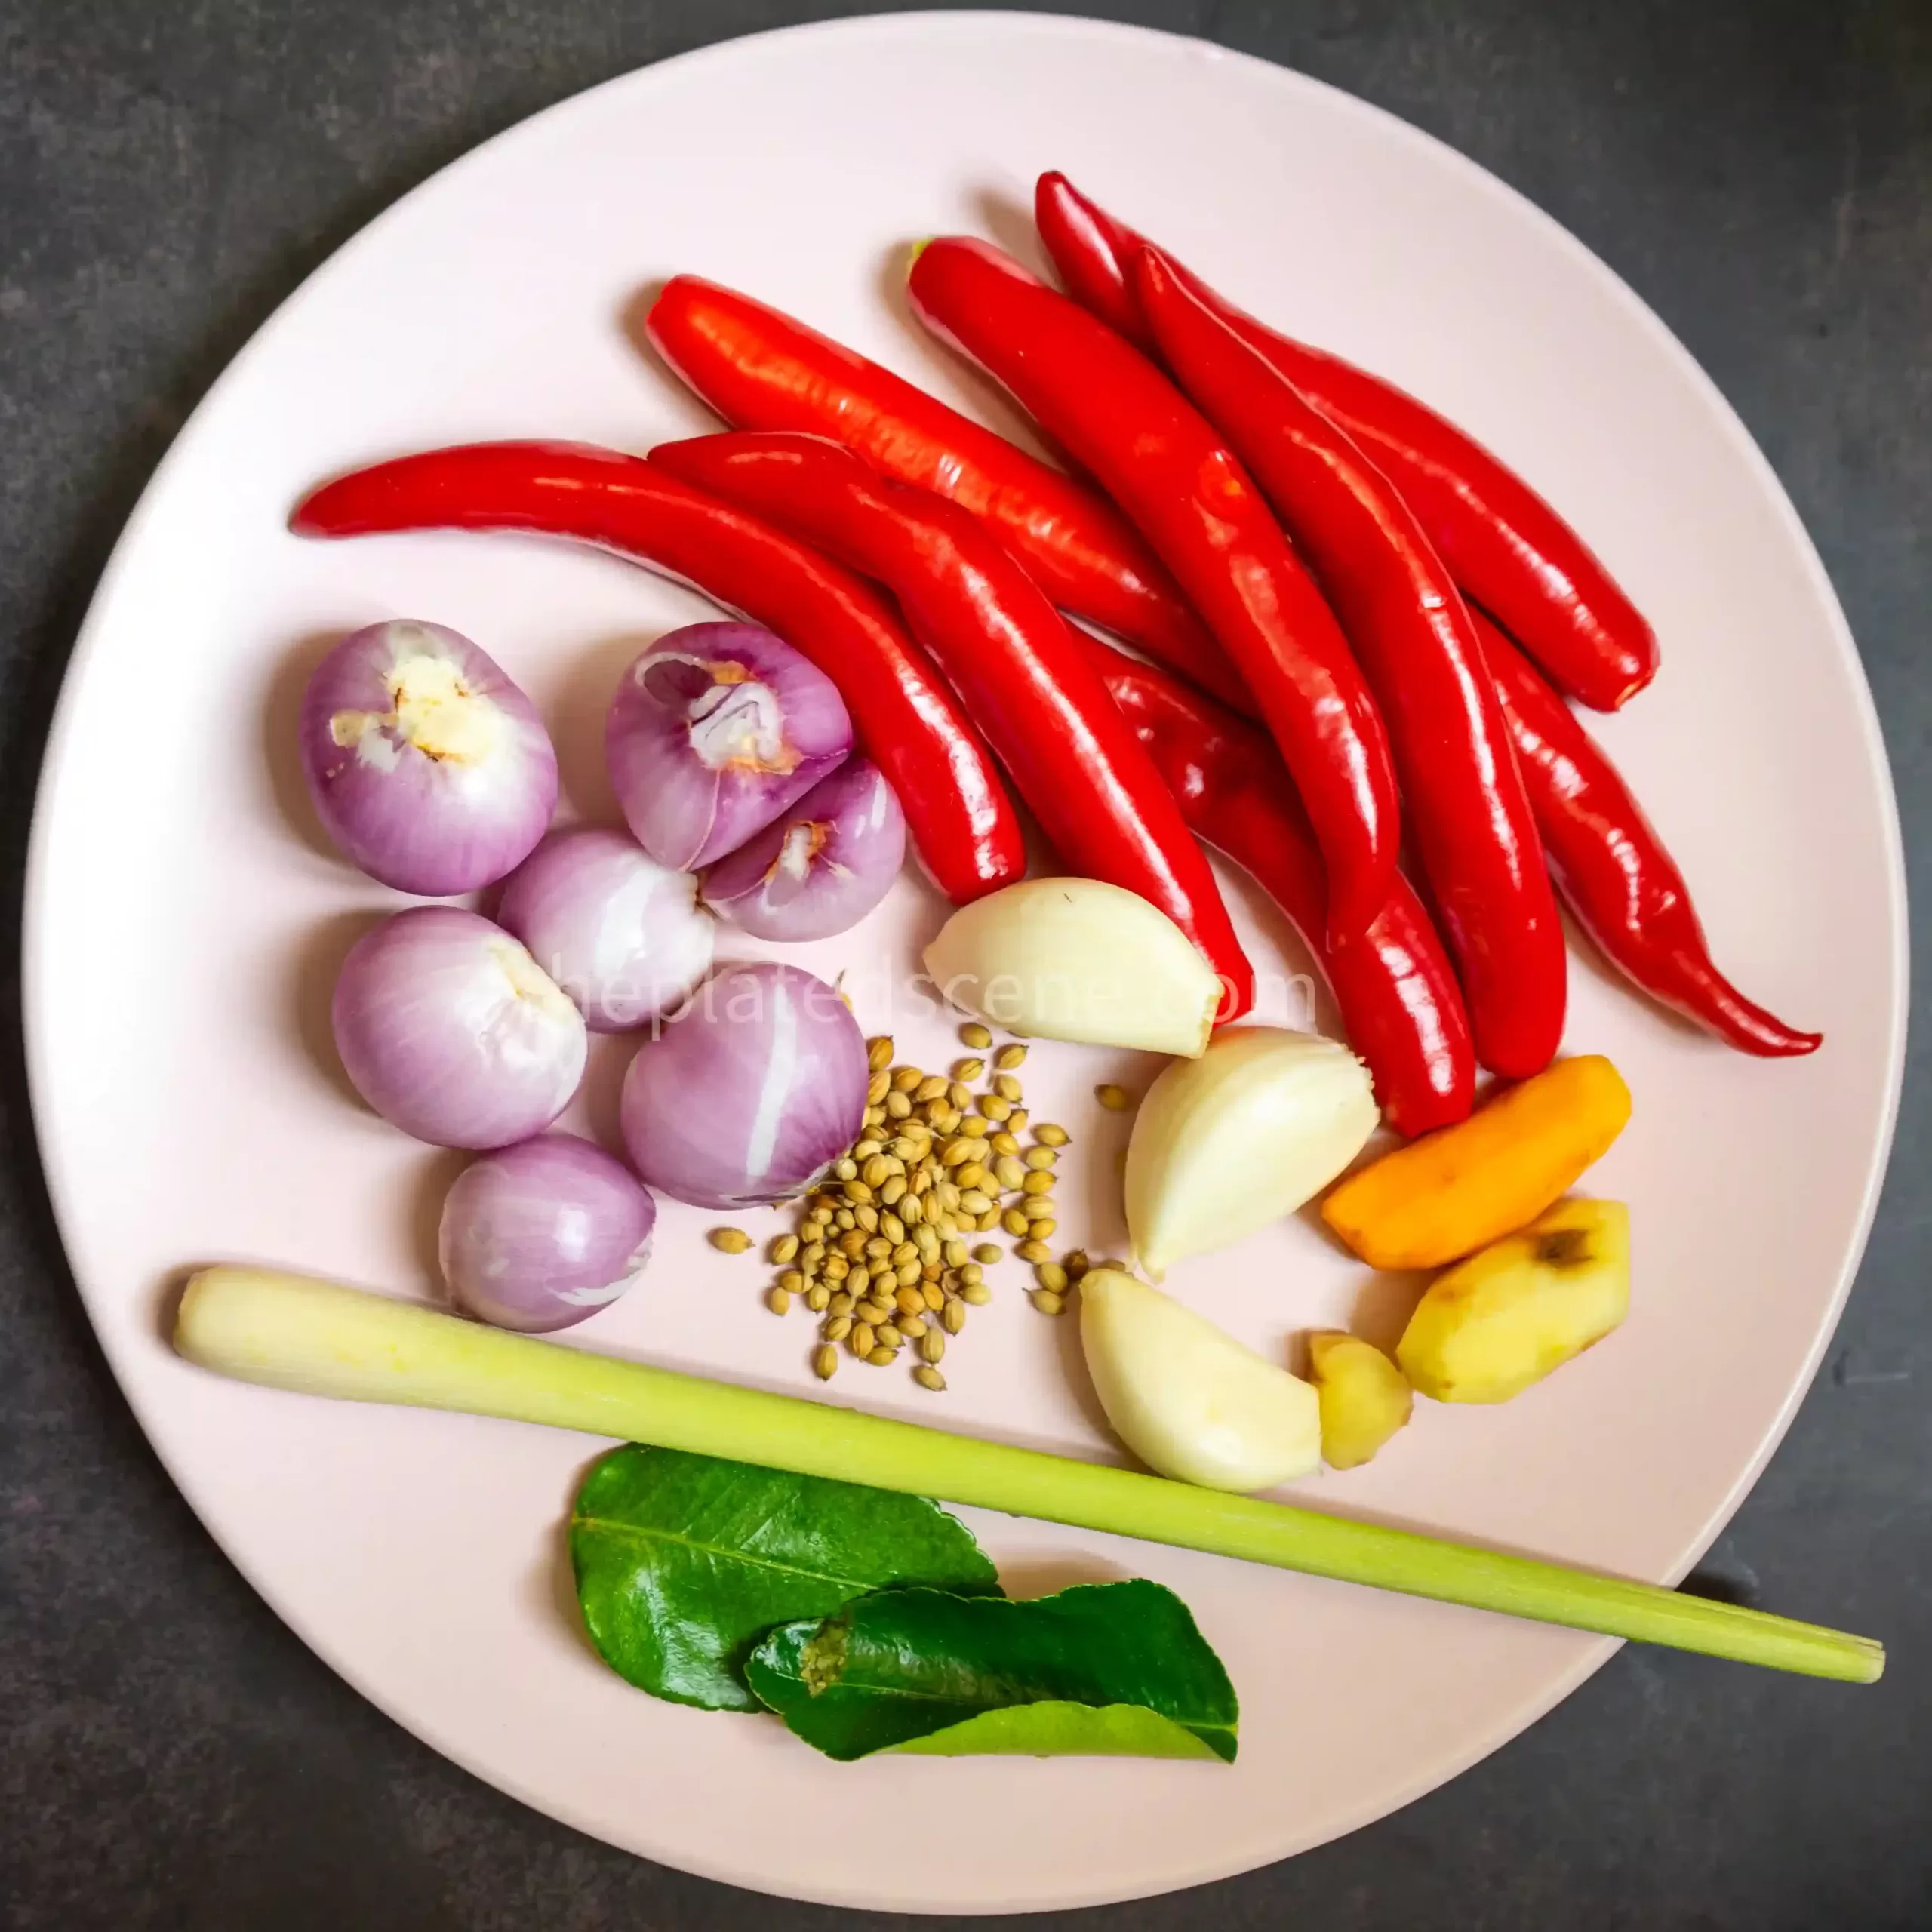
- Big red chilies: Don’t be intimidated by the size of these chilies. The bigger their size usually the less spicy they are. There are three purposes for adding these chilies: to make it spicier, to enhance the flavor of the gulai, and to enhance the color of the gravy. If you omit the chili, the color of the gravy will be more yellowish instead of orangeish.
- Garlic and shallot: If you read my other Indonesian food recipes in this blog, you will know we always include this dynamic duo. It’s pretty rare for Indonesian recipes to use one without the other. Garlic has a strong and pungent flavor, often used in savory dishes to add flavor and depth. Shallots have a milder flavor than garlic, with a hint of sweetness
- Coriander seeds: For this recipe, you can dry roast the fresh seeds to enhance the flavor, aroma, and pungency, but you don’t have to. However, I would avoid using ground or powdered seeds since they will lose flavor quickly. Coriander seeds, in general, will add a mild citrusy hint with a slight curry flavor. If you don’t have coriander in your kitchen staples, try substituting it with cumin.
- Turmeric: Turmeric might be small, but it is a major component in this recipe; don’t try to substitute it. You can use the dry version if you don’t have access to the fresh one. Turmeric is why the curry has a yellowish color, so I can say that it serves as a coloring agent. Turmeric also enhances the flavor of the Gulai since it is mildly fragrant and has a slight ginger-like bite; however, it is also bitter in quantity, and overuse can make very unpleasant eating
- Ginger: Ginger has a distinct and zesty flavor. It’s spicy (which will give some ‘kick’ to the food flavor), and the slightly sweet taste enhances the overall taste profile of this gulai.
Other Ingredients
- Coconut milk: Coconut milk adds a rich, creamy texture to the gulai nangka, enhancing its overall mouthfeel. This creaminess helps balance the spices and flavors of the blended herbs. On top of that, coconut milk will act as a natural thickening agent, helping to give the curry its characteristic consistency and ensuring that the sauce clings to the ingredients. Yummy :).
- Lemongrass: Lemongrass contributes a fresh, citrusy flavor to gulai, enhancing its overall taste profile. This citrusy note complements the richness of the curry and adds brightness to the dish. In order to release more aromatic oil from lemongrass, I usually cut the lemongrass in half and try to beat the surface to it by gently bruising the stalk, which helps break down its tough fibers.
- Lime leaves: Both lemongrass and lime leaves contribute citrusy flavors and aromas to curry. However, there is a slight difference. Lemongrass adds a tangy freshness and texture, while lime leaves offer a distinct citrusy taste and aroma, helping to balance the flavors of the curry.
- Salt and mushroom stock
Let’s Start Cooking Our Gulai Nangka!
1. Blend all of the blended ingredients!
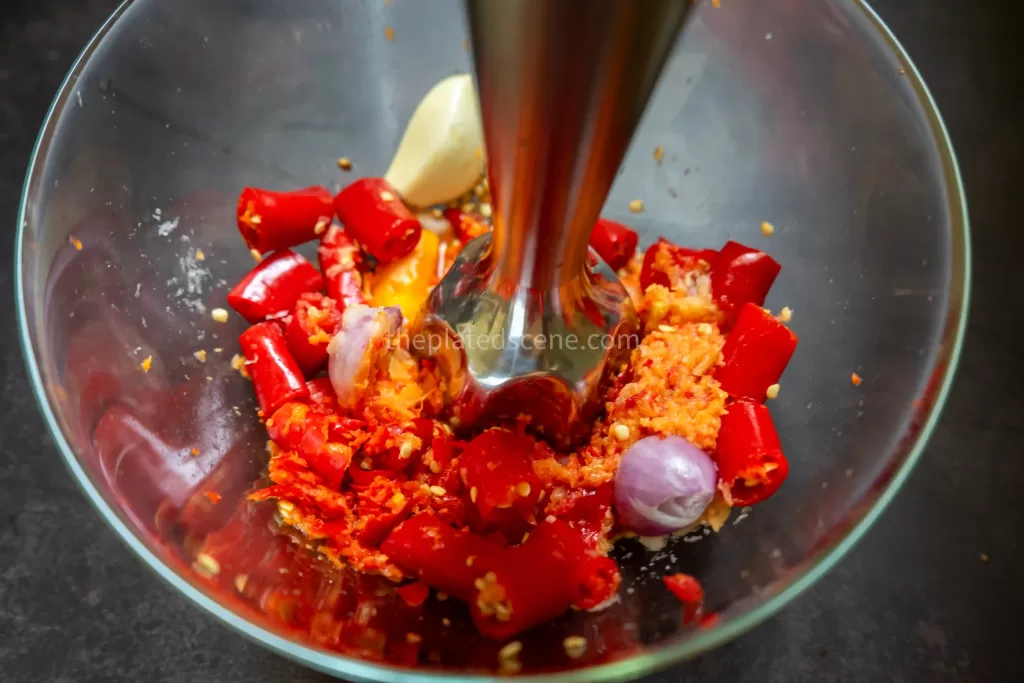
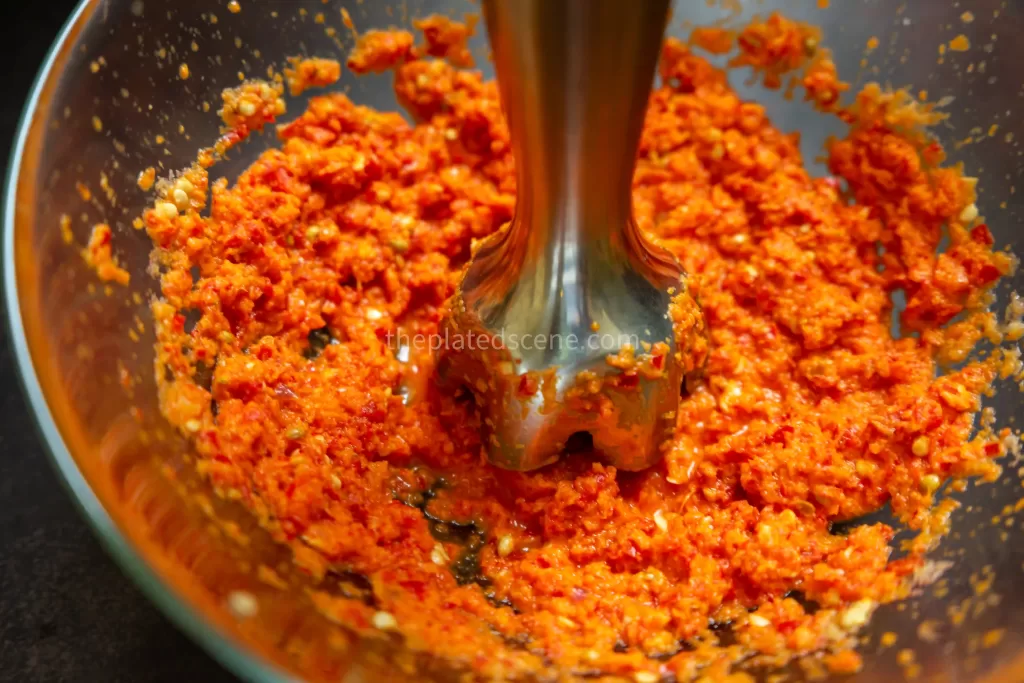
If you use an immersion blender like me, grab a clean bowl, put all the ingredients (chilies, garlic, shallot, coriander seeds, ginger, and turmeric) inside, and start blending until smooth. During the blending process, you could add 1 tbsp oil and cut the chilies into smaller sizes; hence, the process will be much easier.
The process will be similar if you use a regular blender, except you will blend in the blender instead of the bowl.

Below should be the final result that you want to aim for.
2. Sauté all of the blended ingredients together with the lemongrass and lime leaves
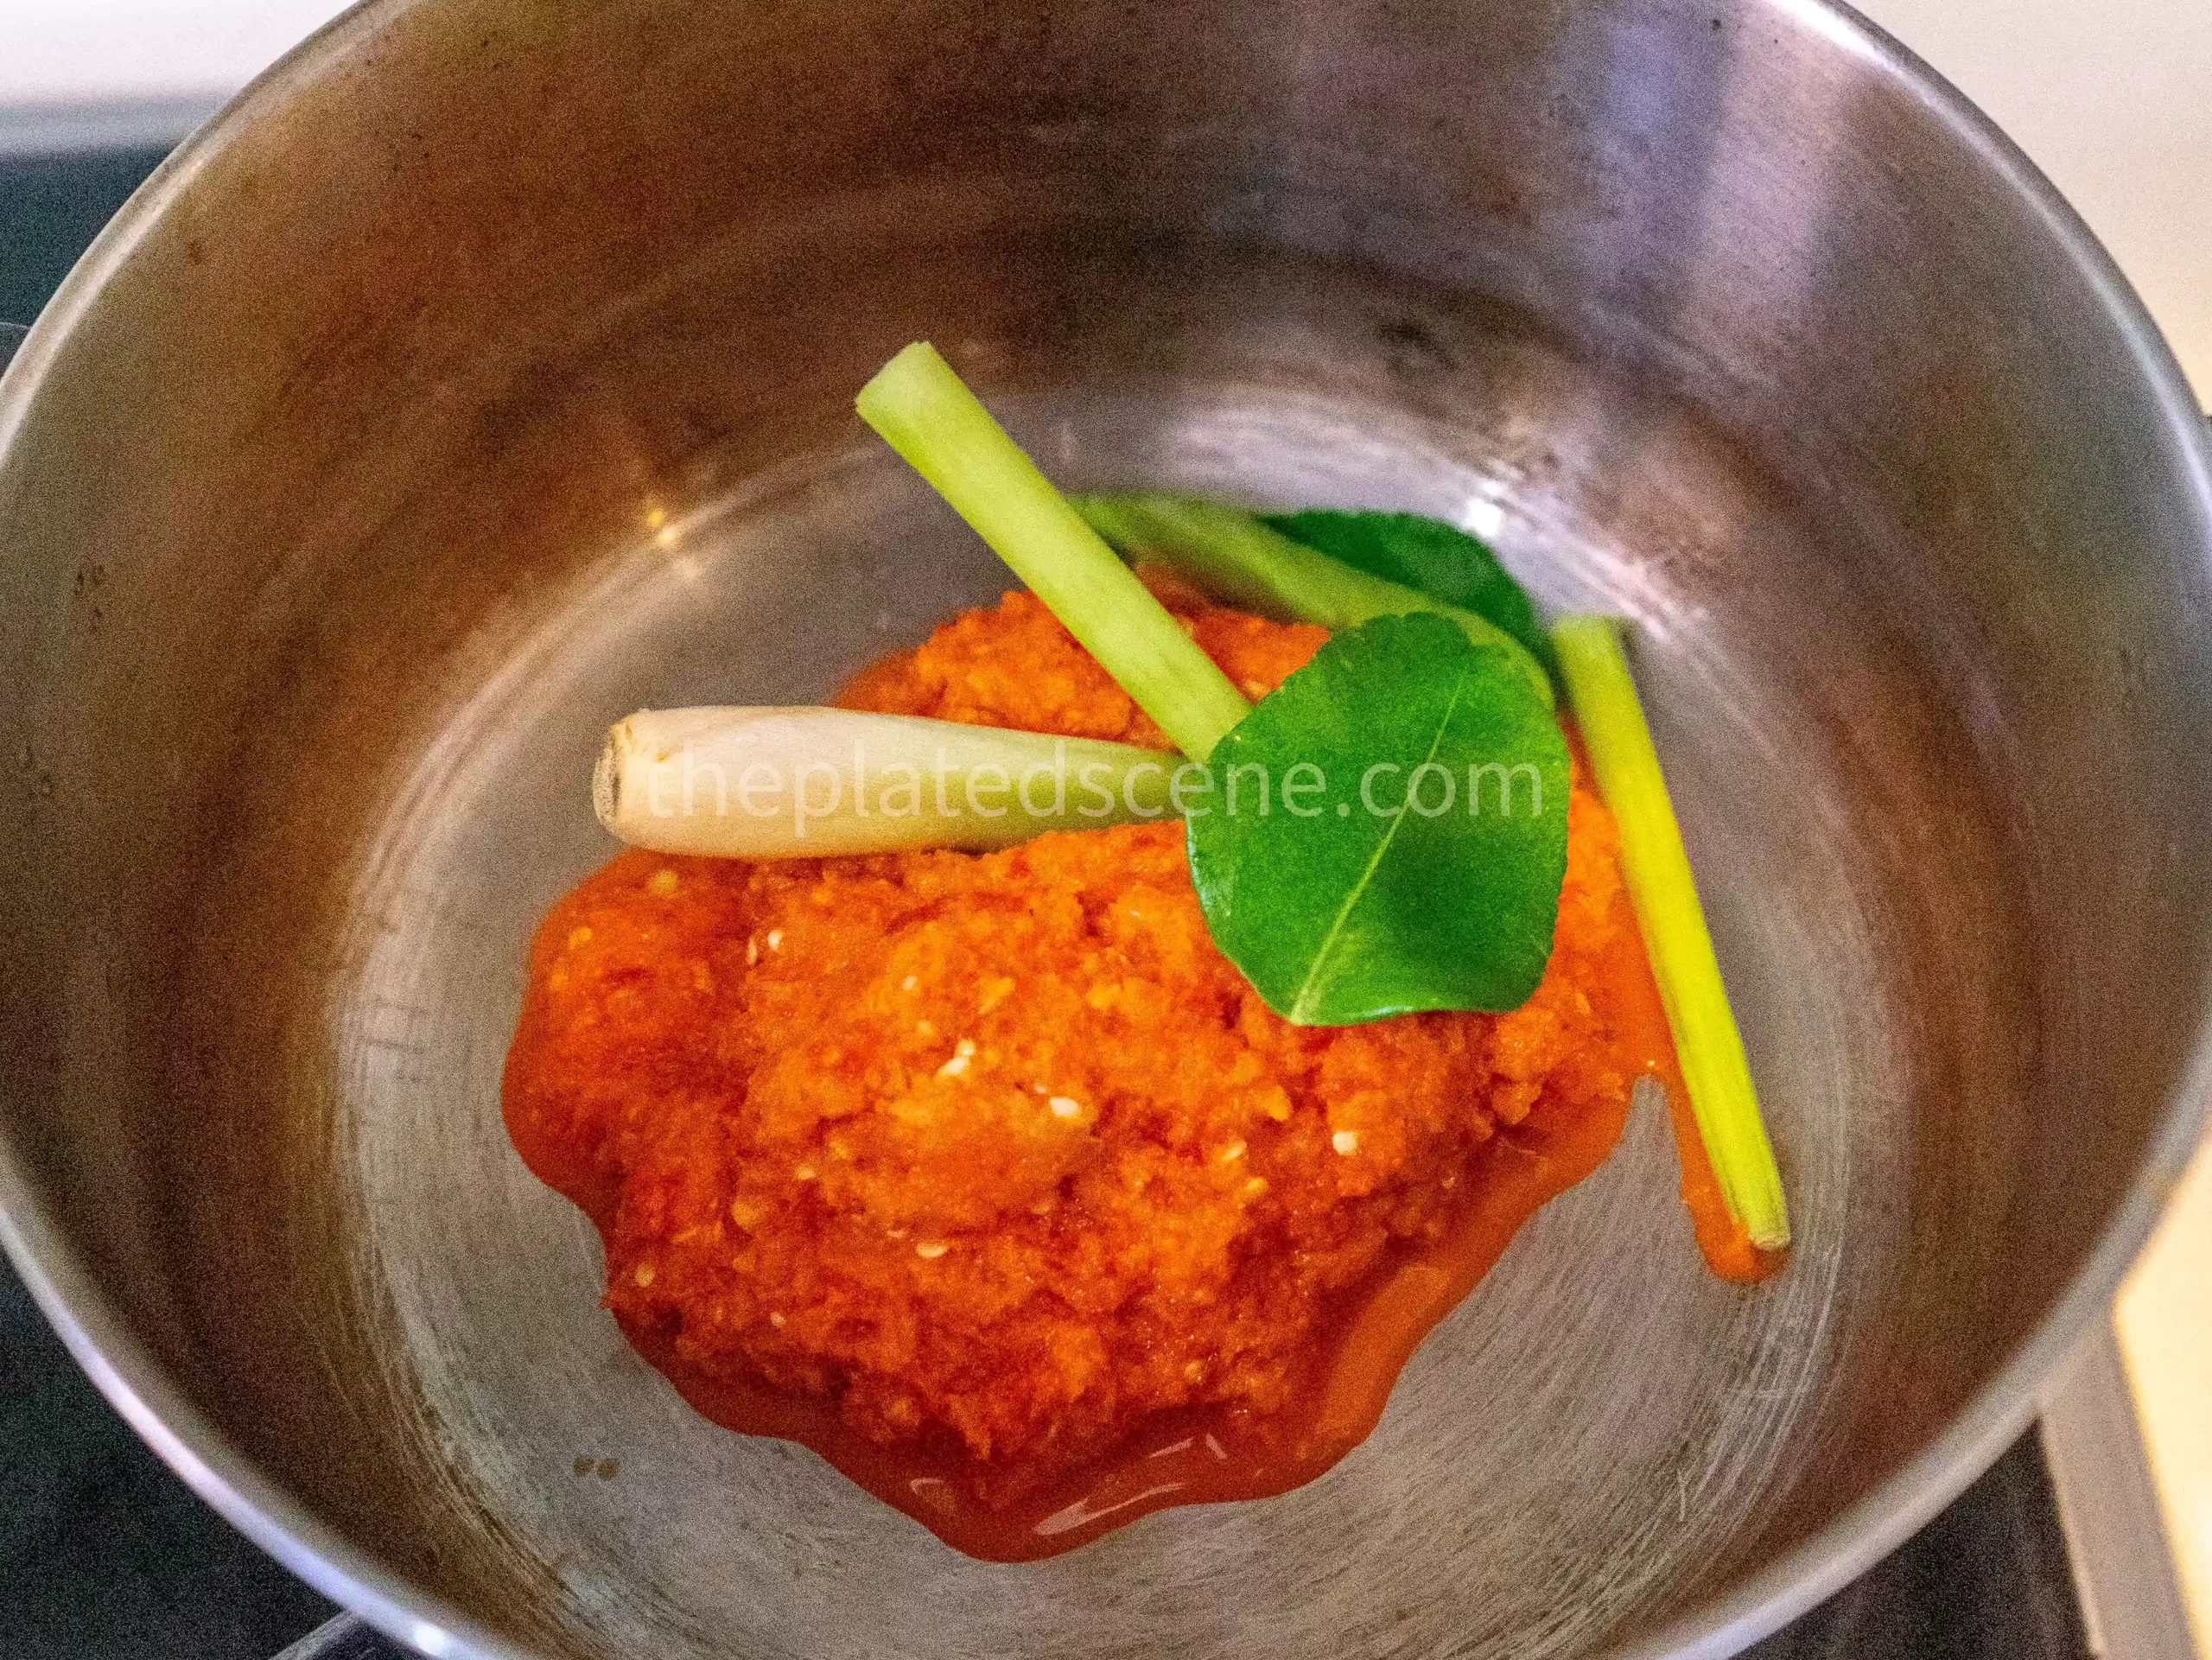
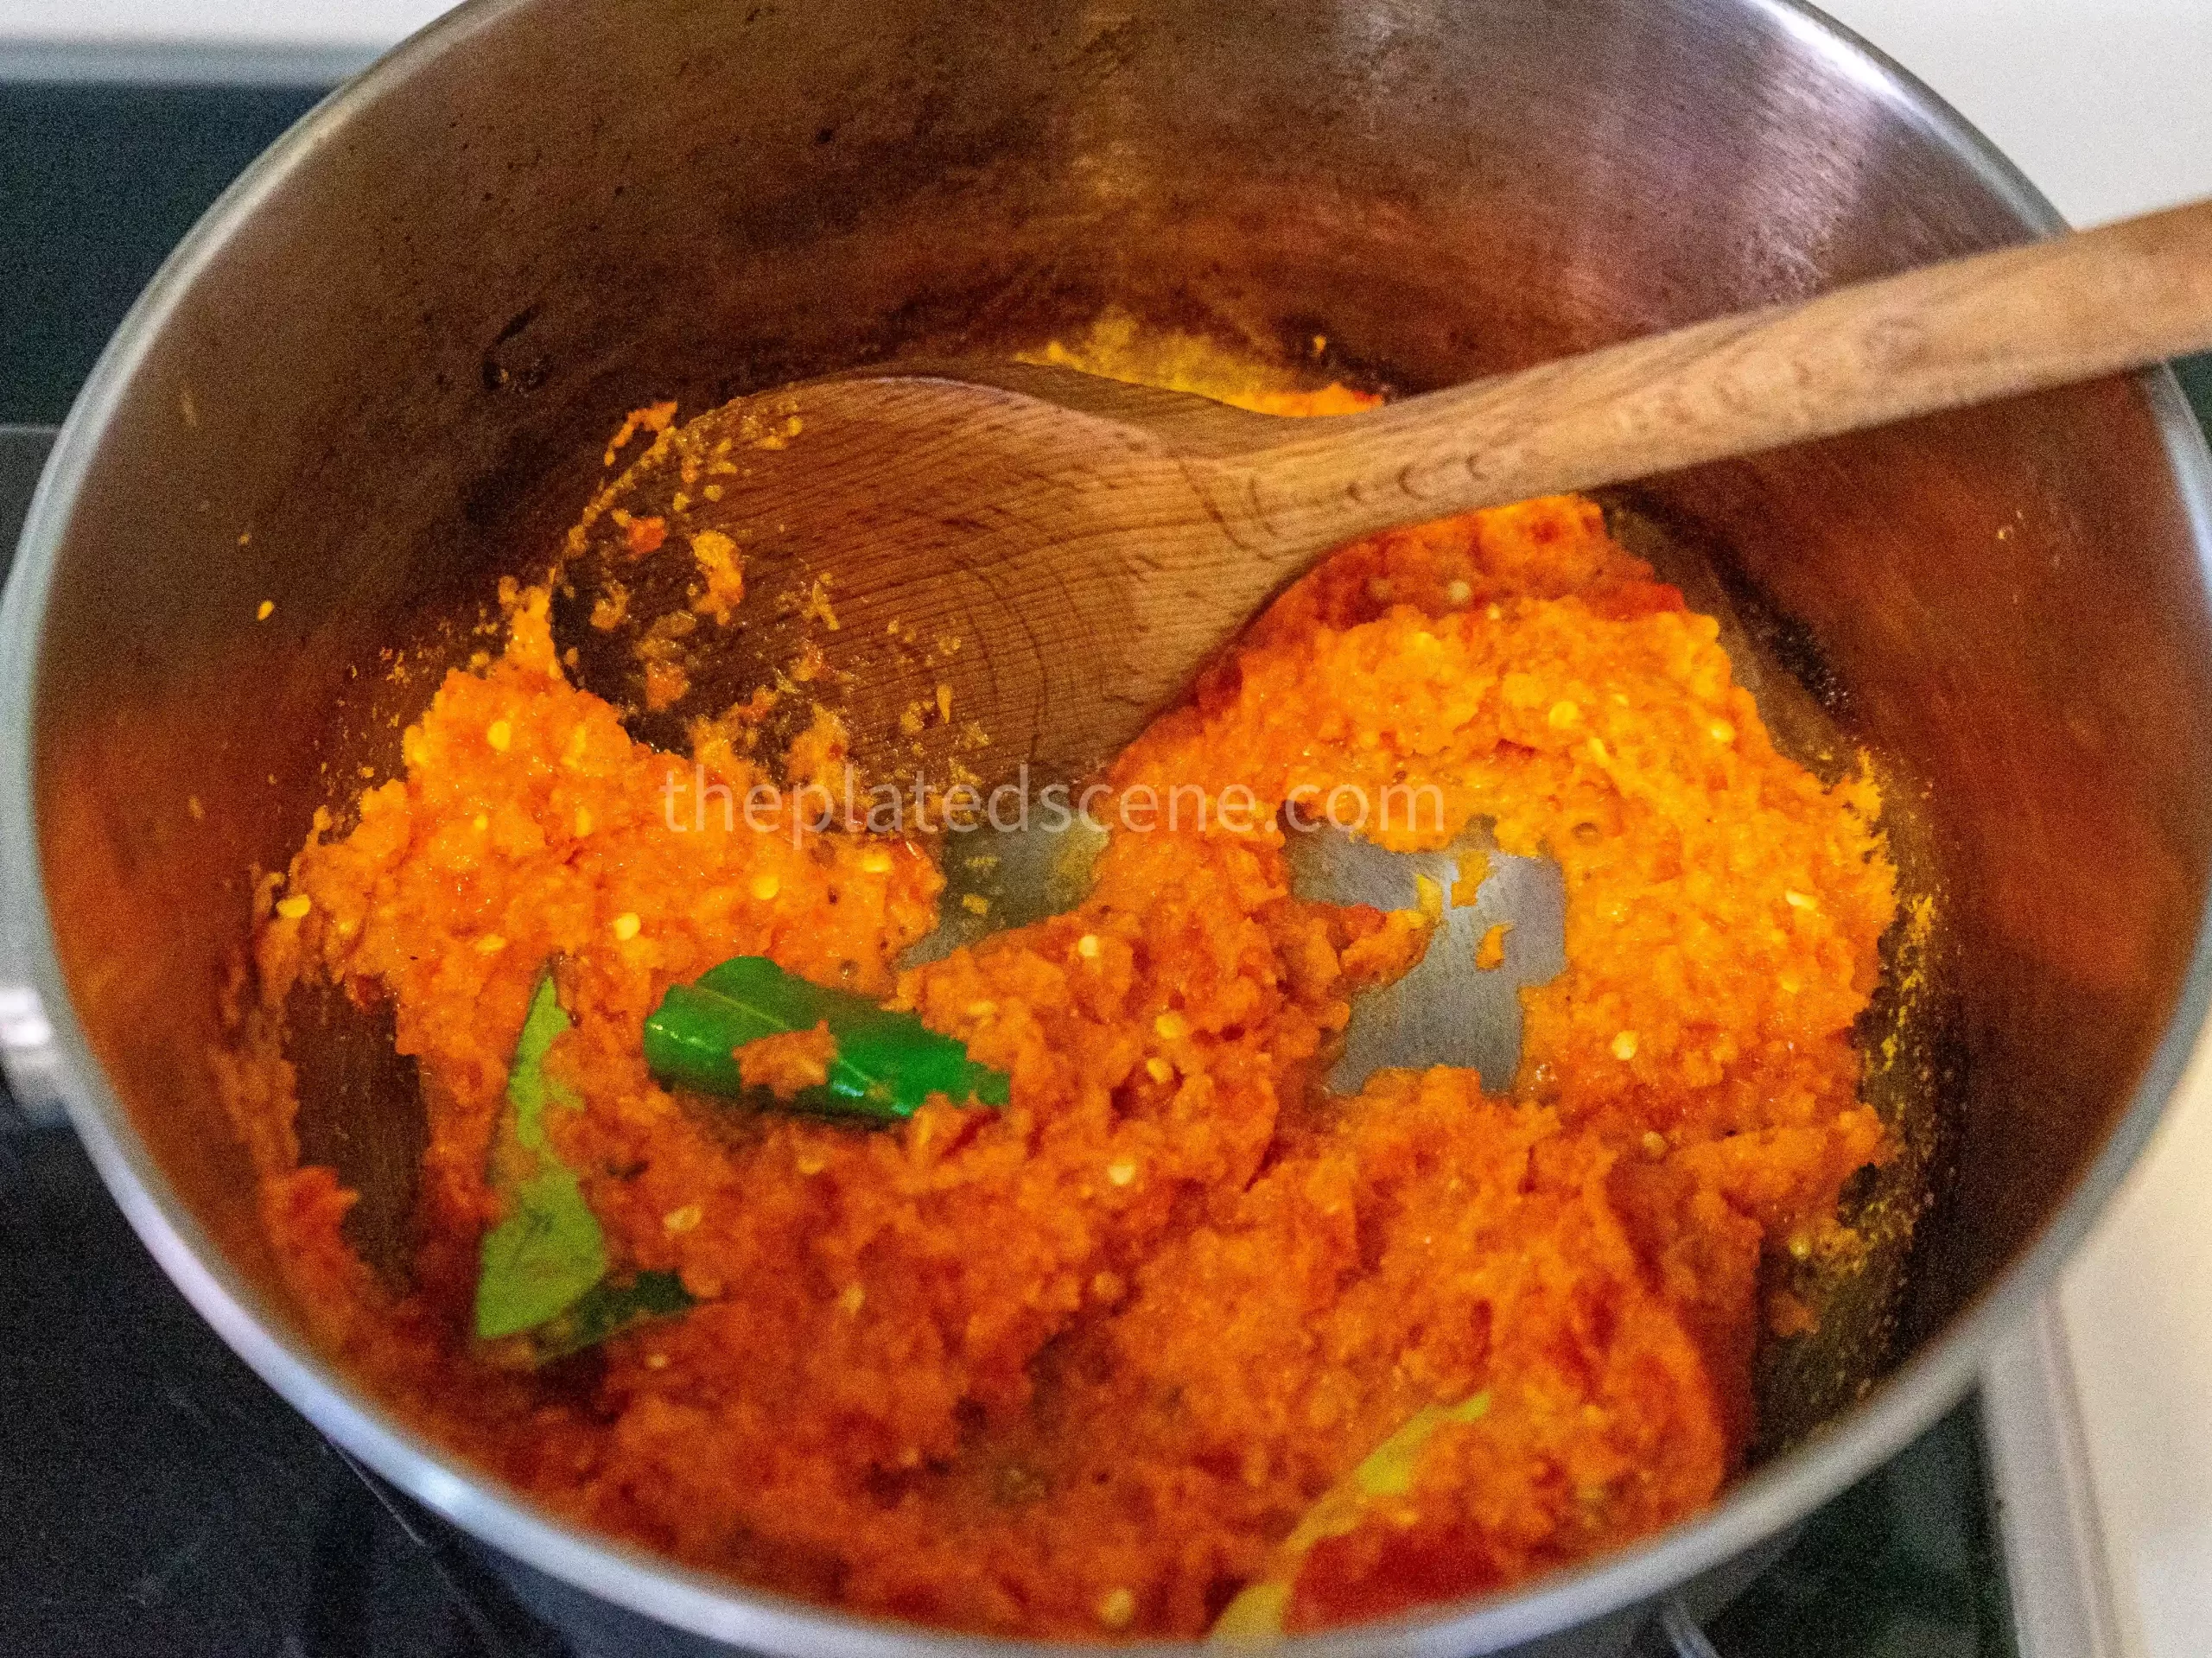
Put a pot on the stove and add 1-2 tbsp cooking oil. Turn on the stove with medium heat, and wait until the oil is hot. Then, add the blended ingredients, along with lemongrass and lime leaves. Continue to stir it so all of the ingredients are cooked evenly. Stop after 3-4 minutes when the ingredients become fragrant. Don’t let it overcook and burn. The purpose of this step is to make sure we cook all of the herbs and seasoning and also to reduce excess moisture in the blended mixture, concentrating flavors and creating a smoother texture.
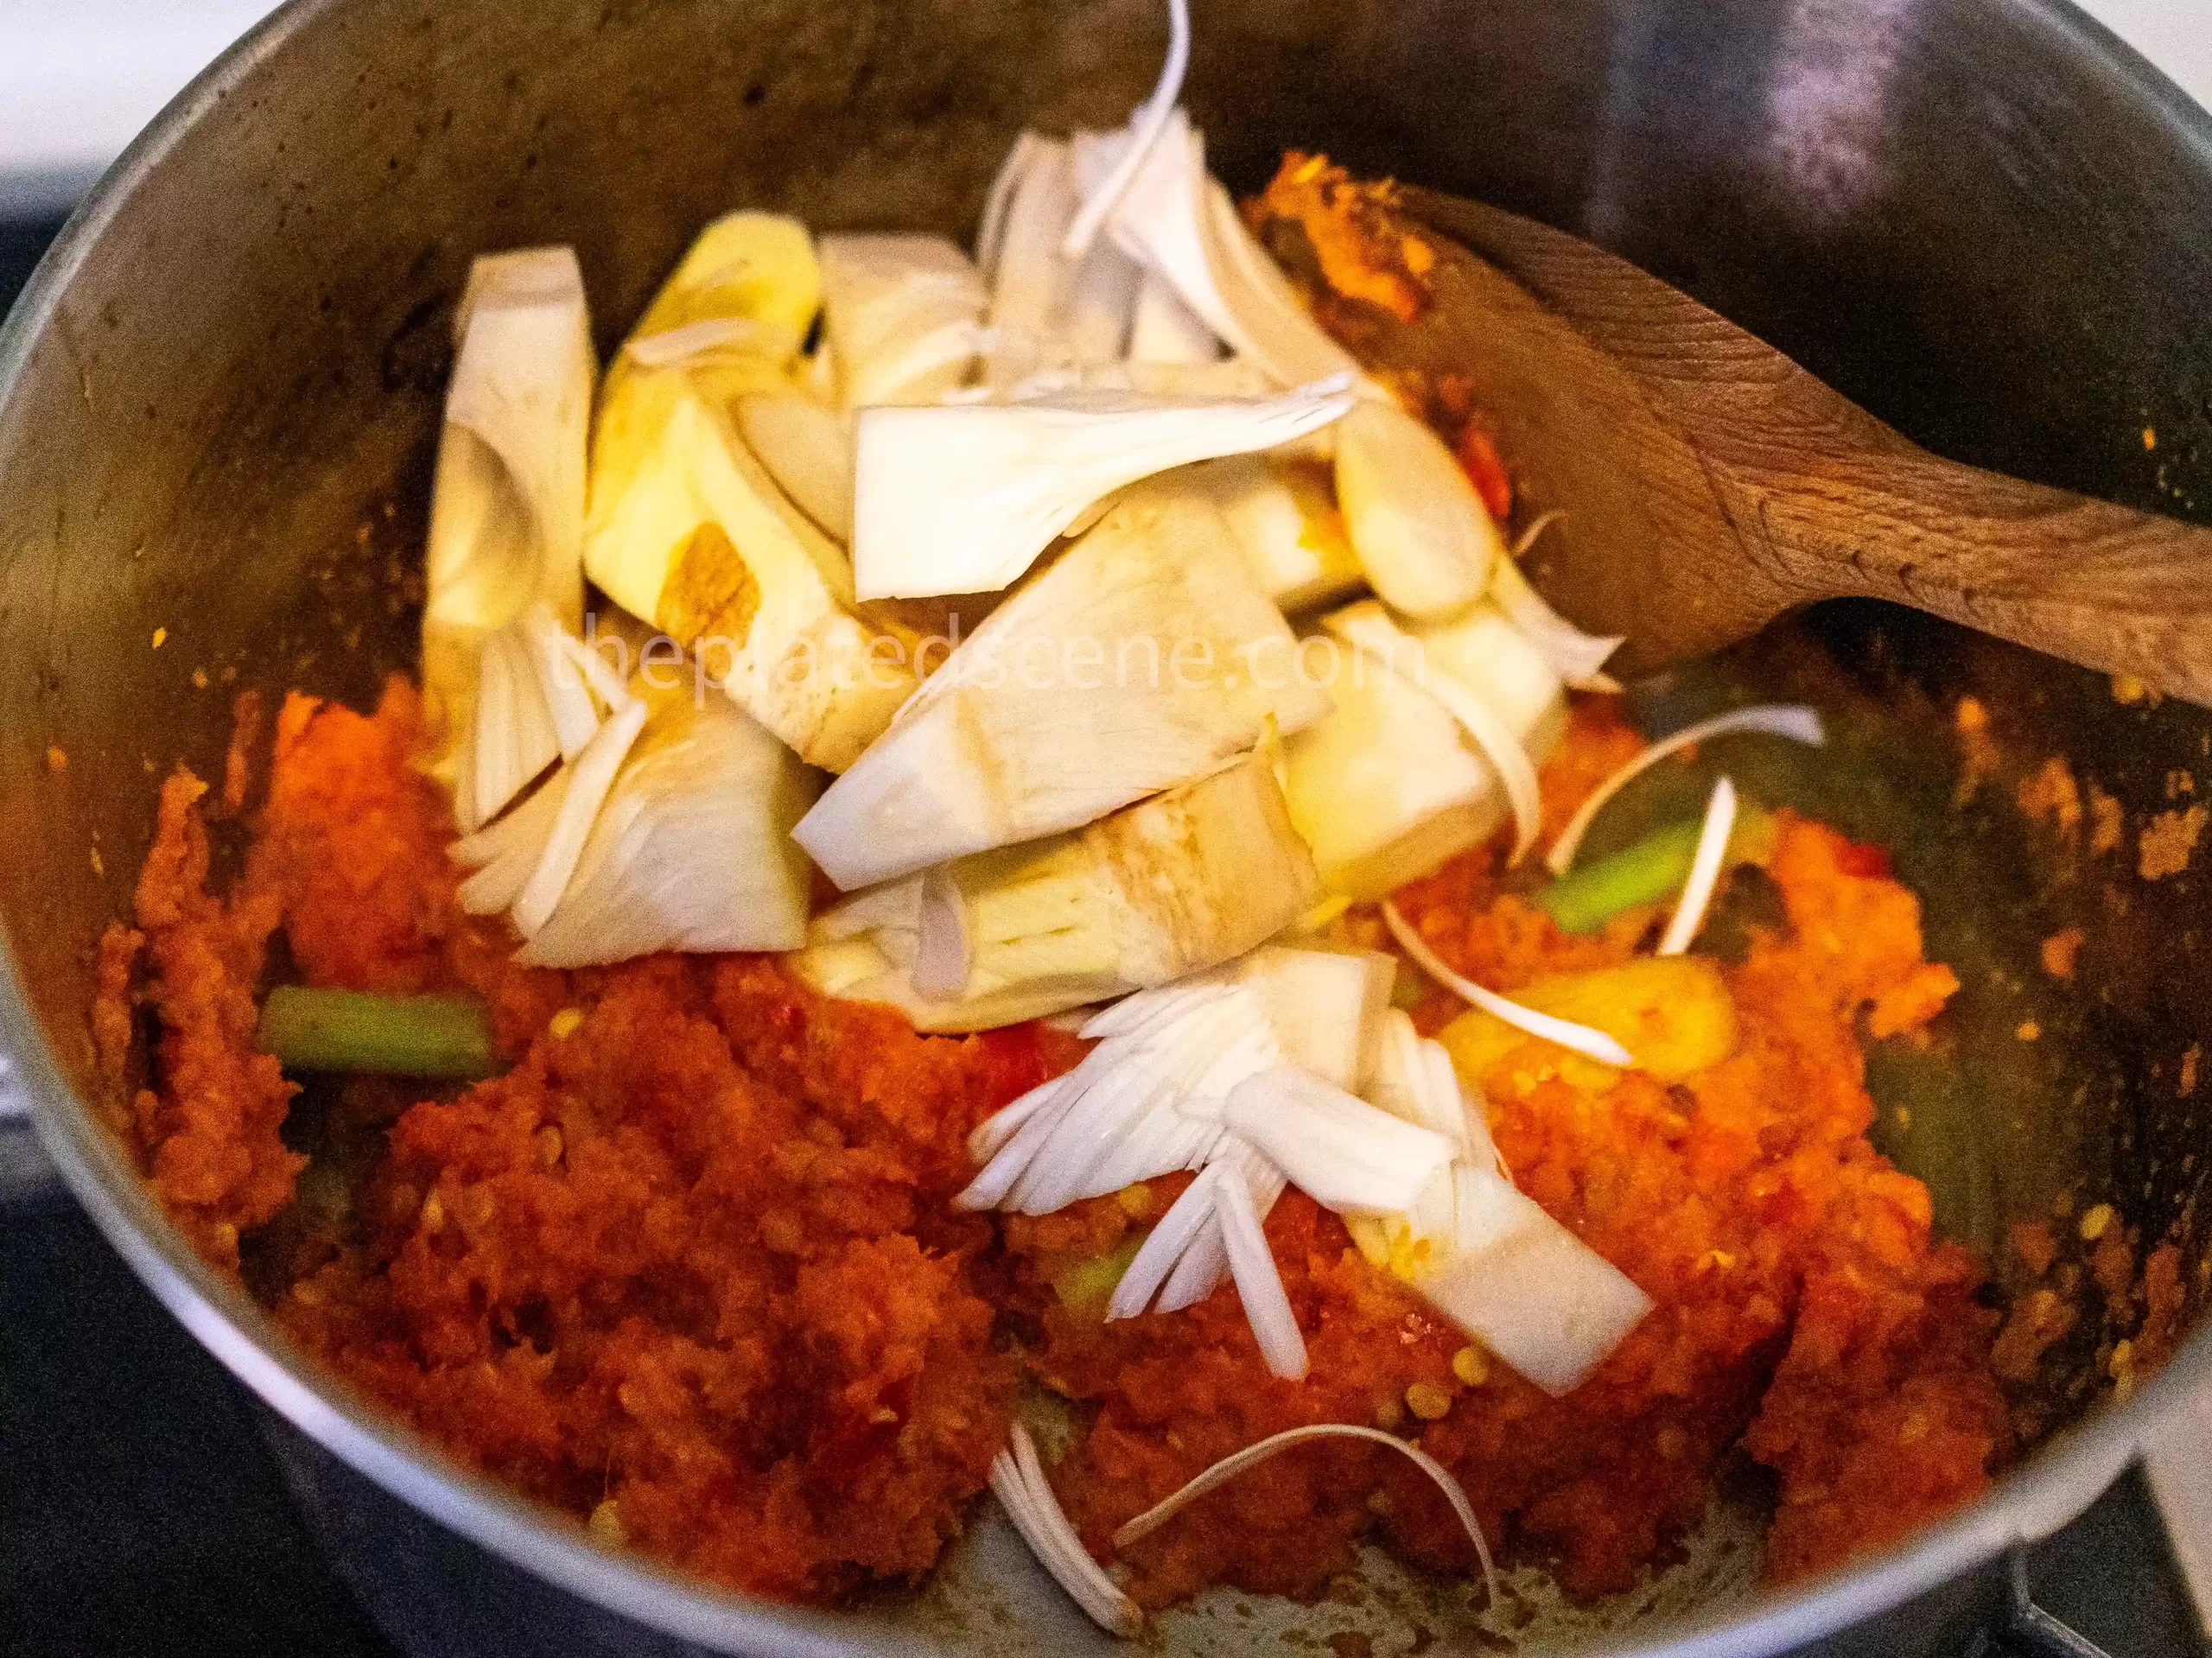
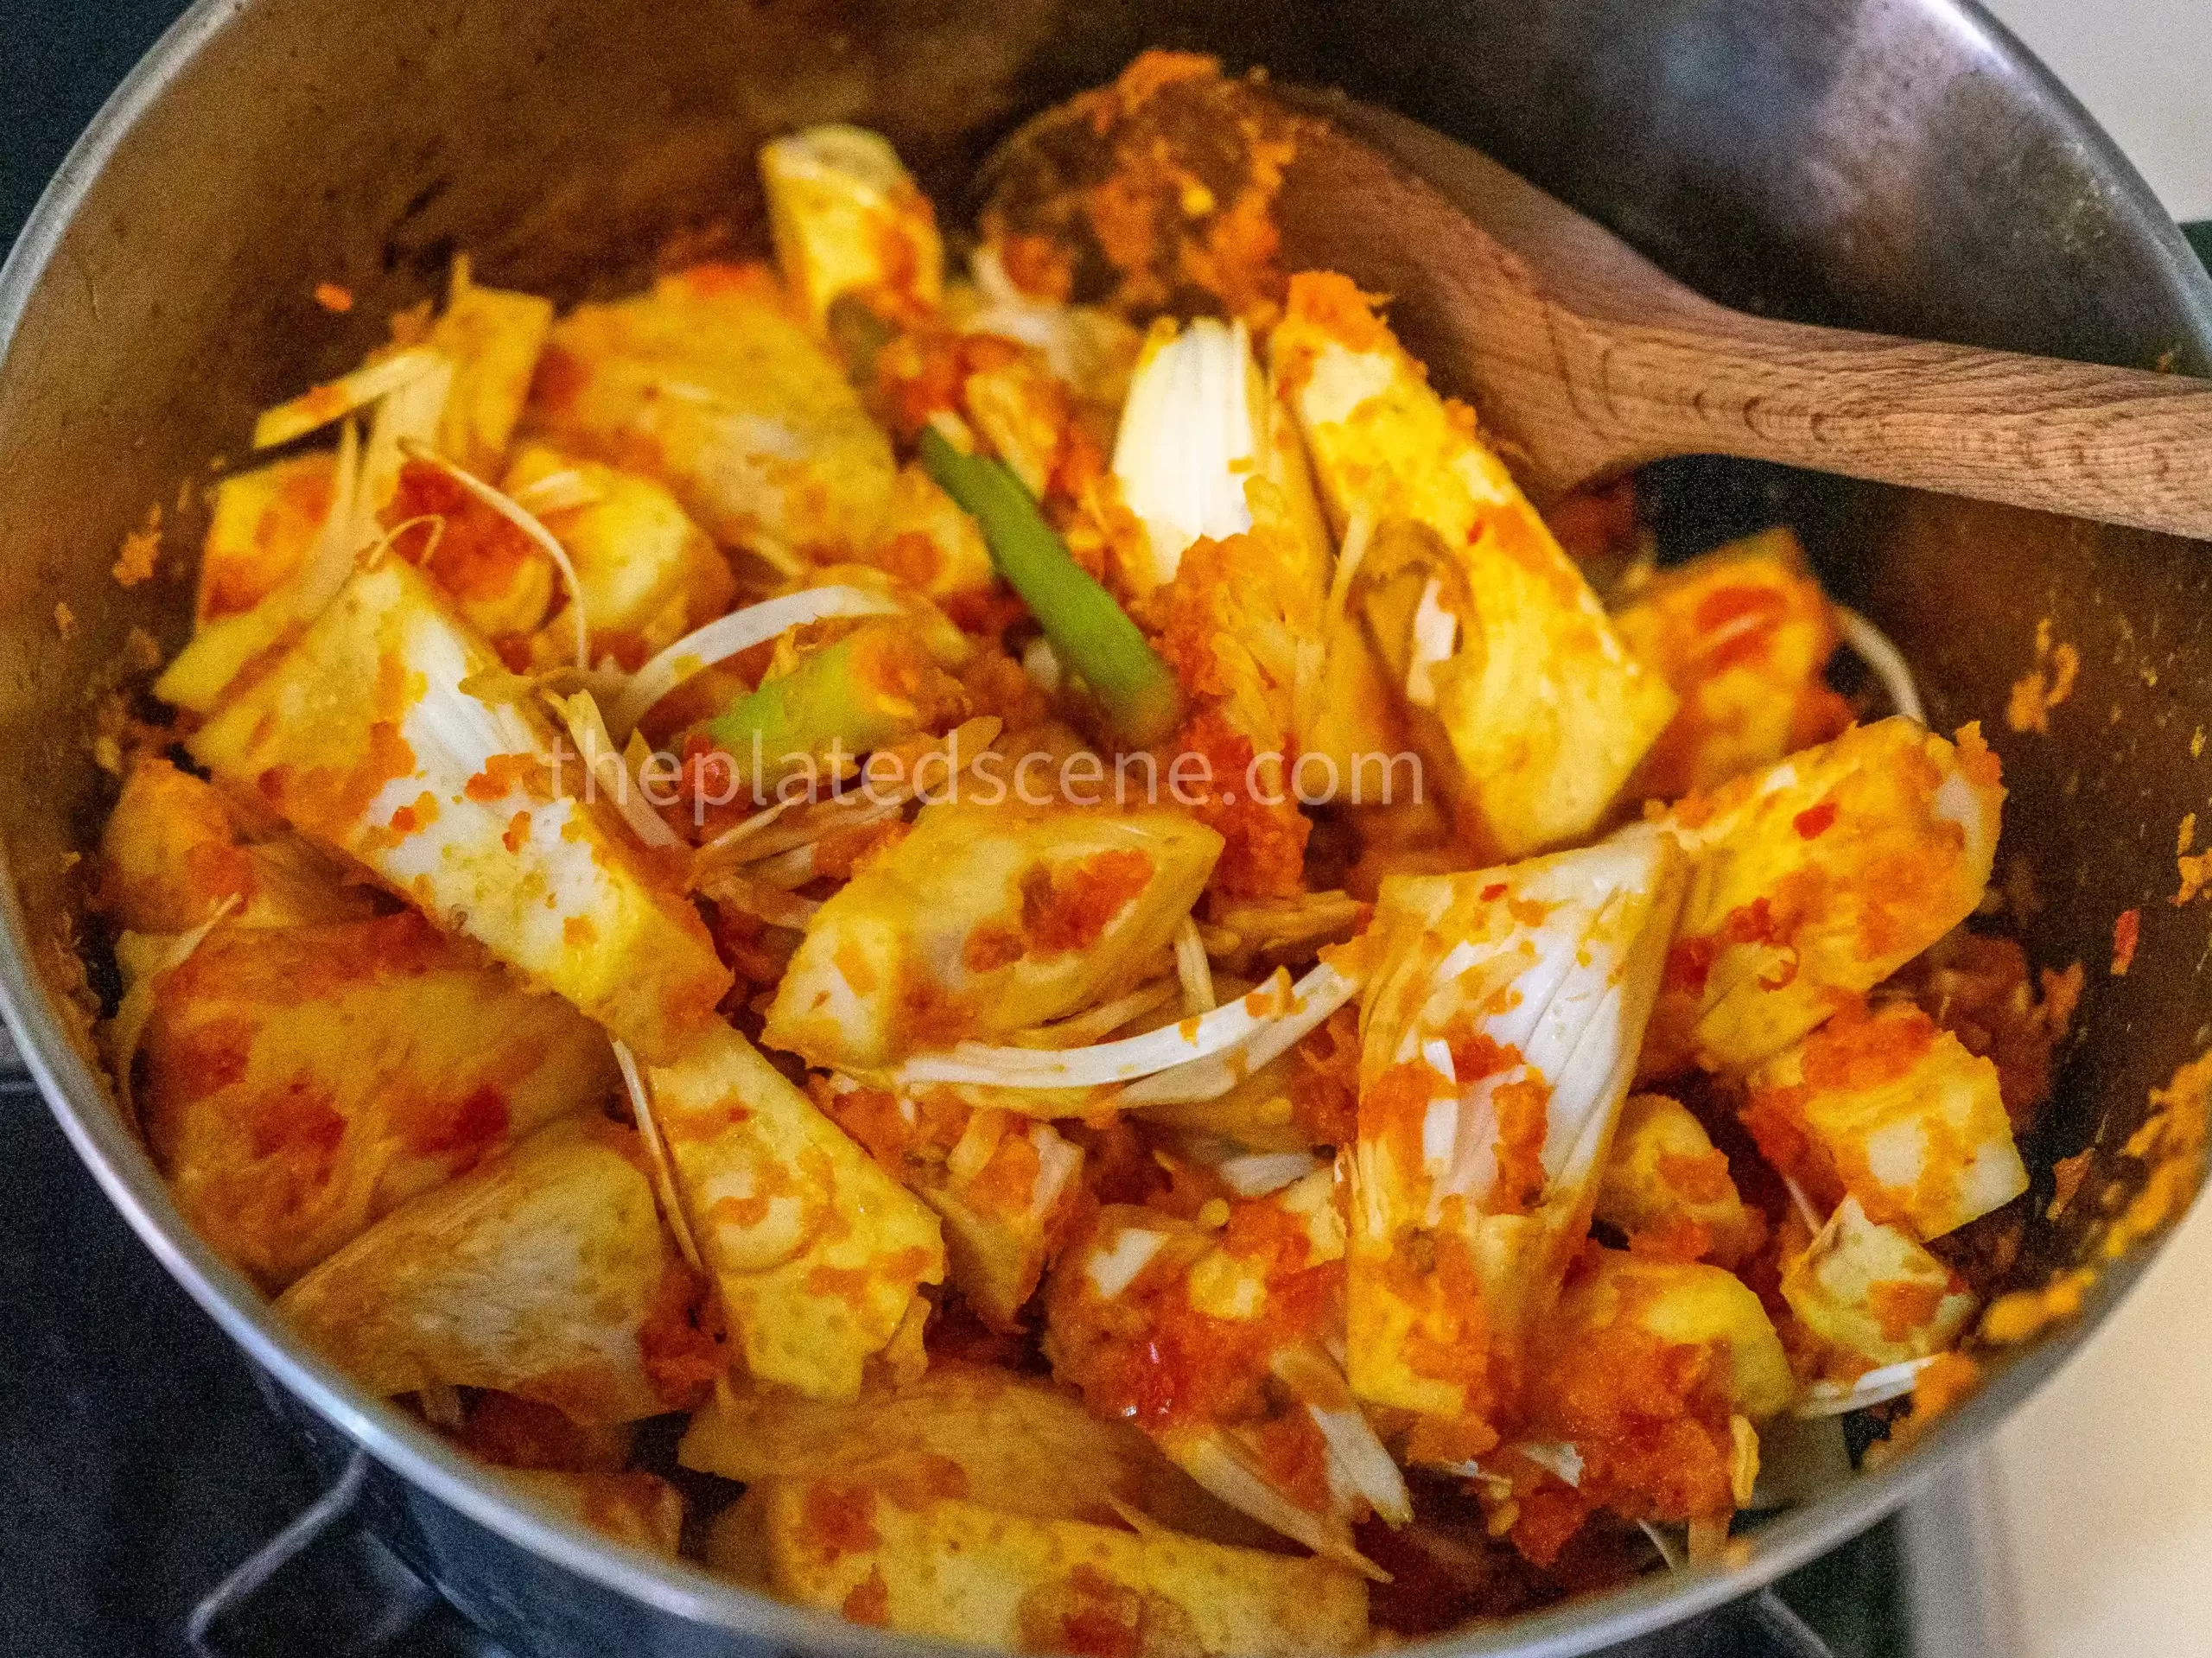
3. Put the jackfruit into the pot and mix them evenly
Take the jackfruit chunks (refer to the explanation of the ingredients for more details) and put them into the pot. While keeping the medium level heat, mix everything evenly until the seasoning has covered the jackfruit’s surface. This is to make sure each piece is evenly flavored/seasoned. Keep it for 1-2 minutes while continue mixing it.
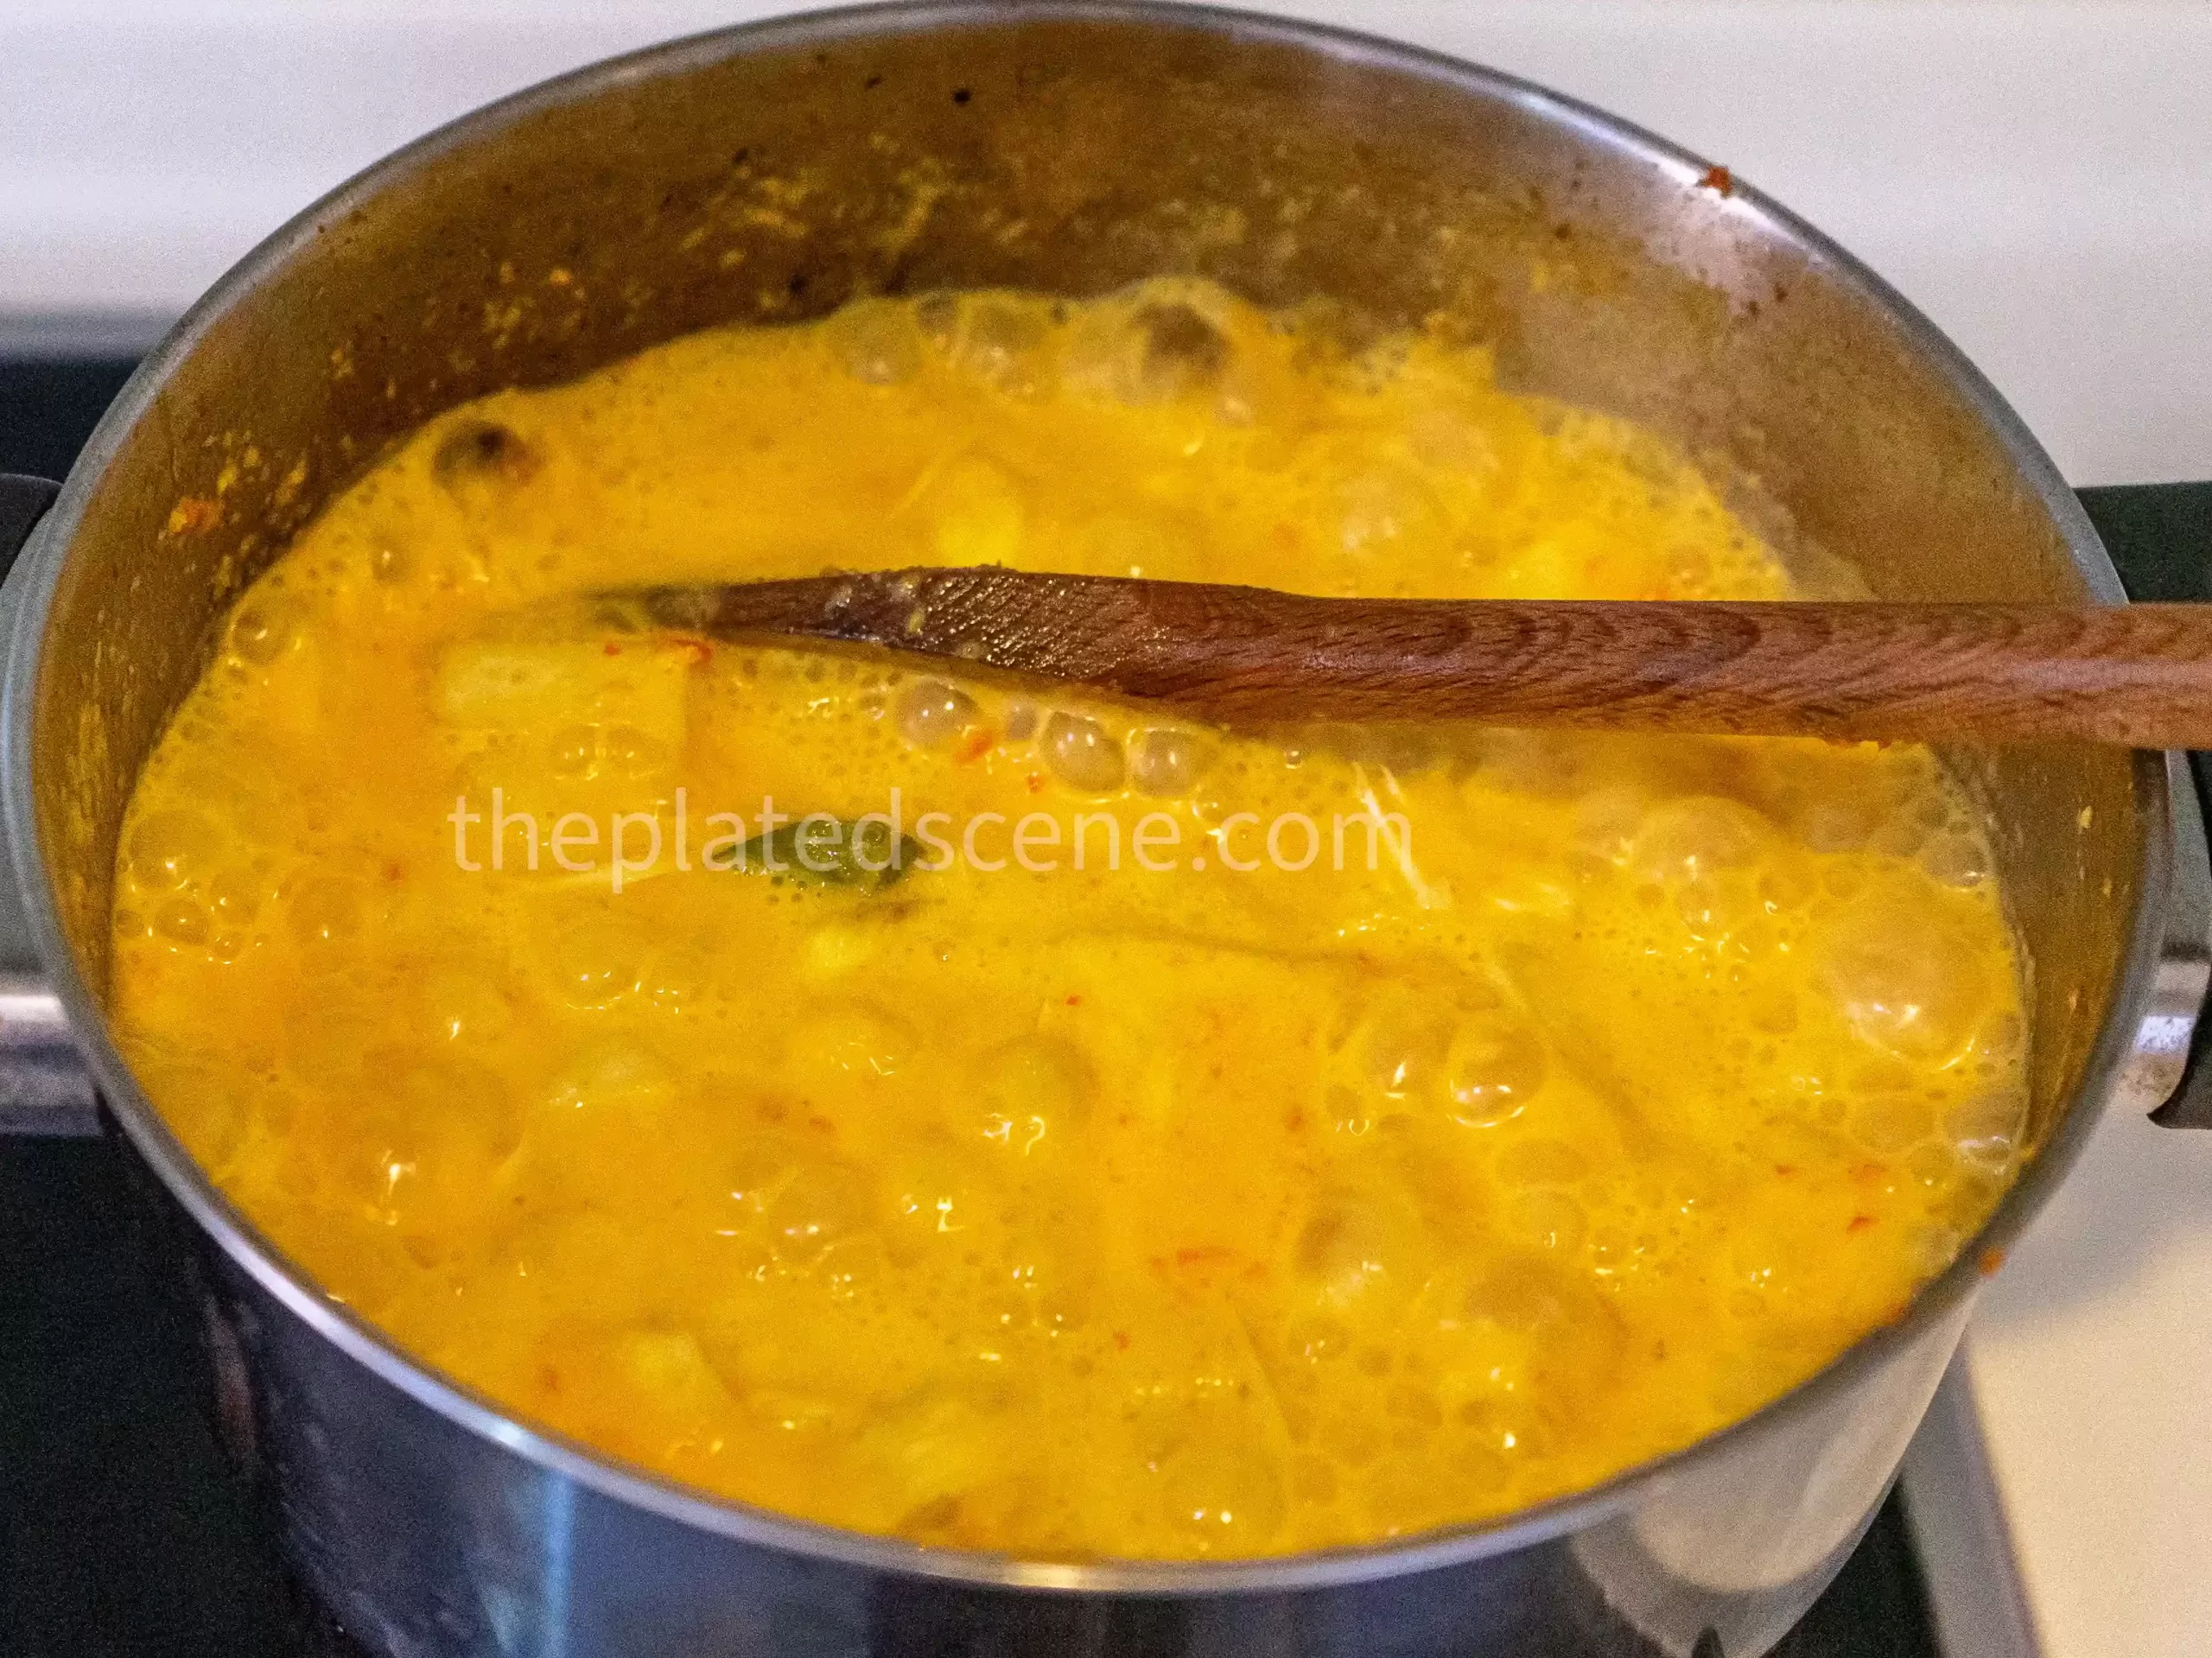
4. Add the coconut milk
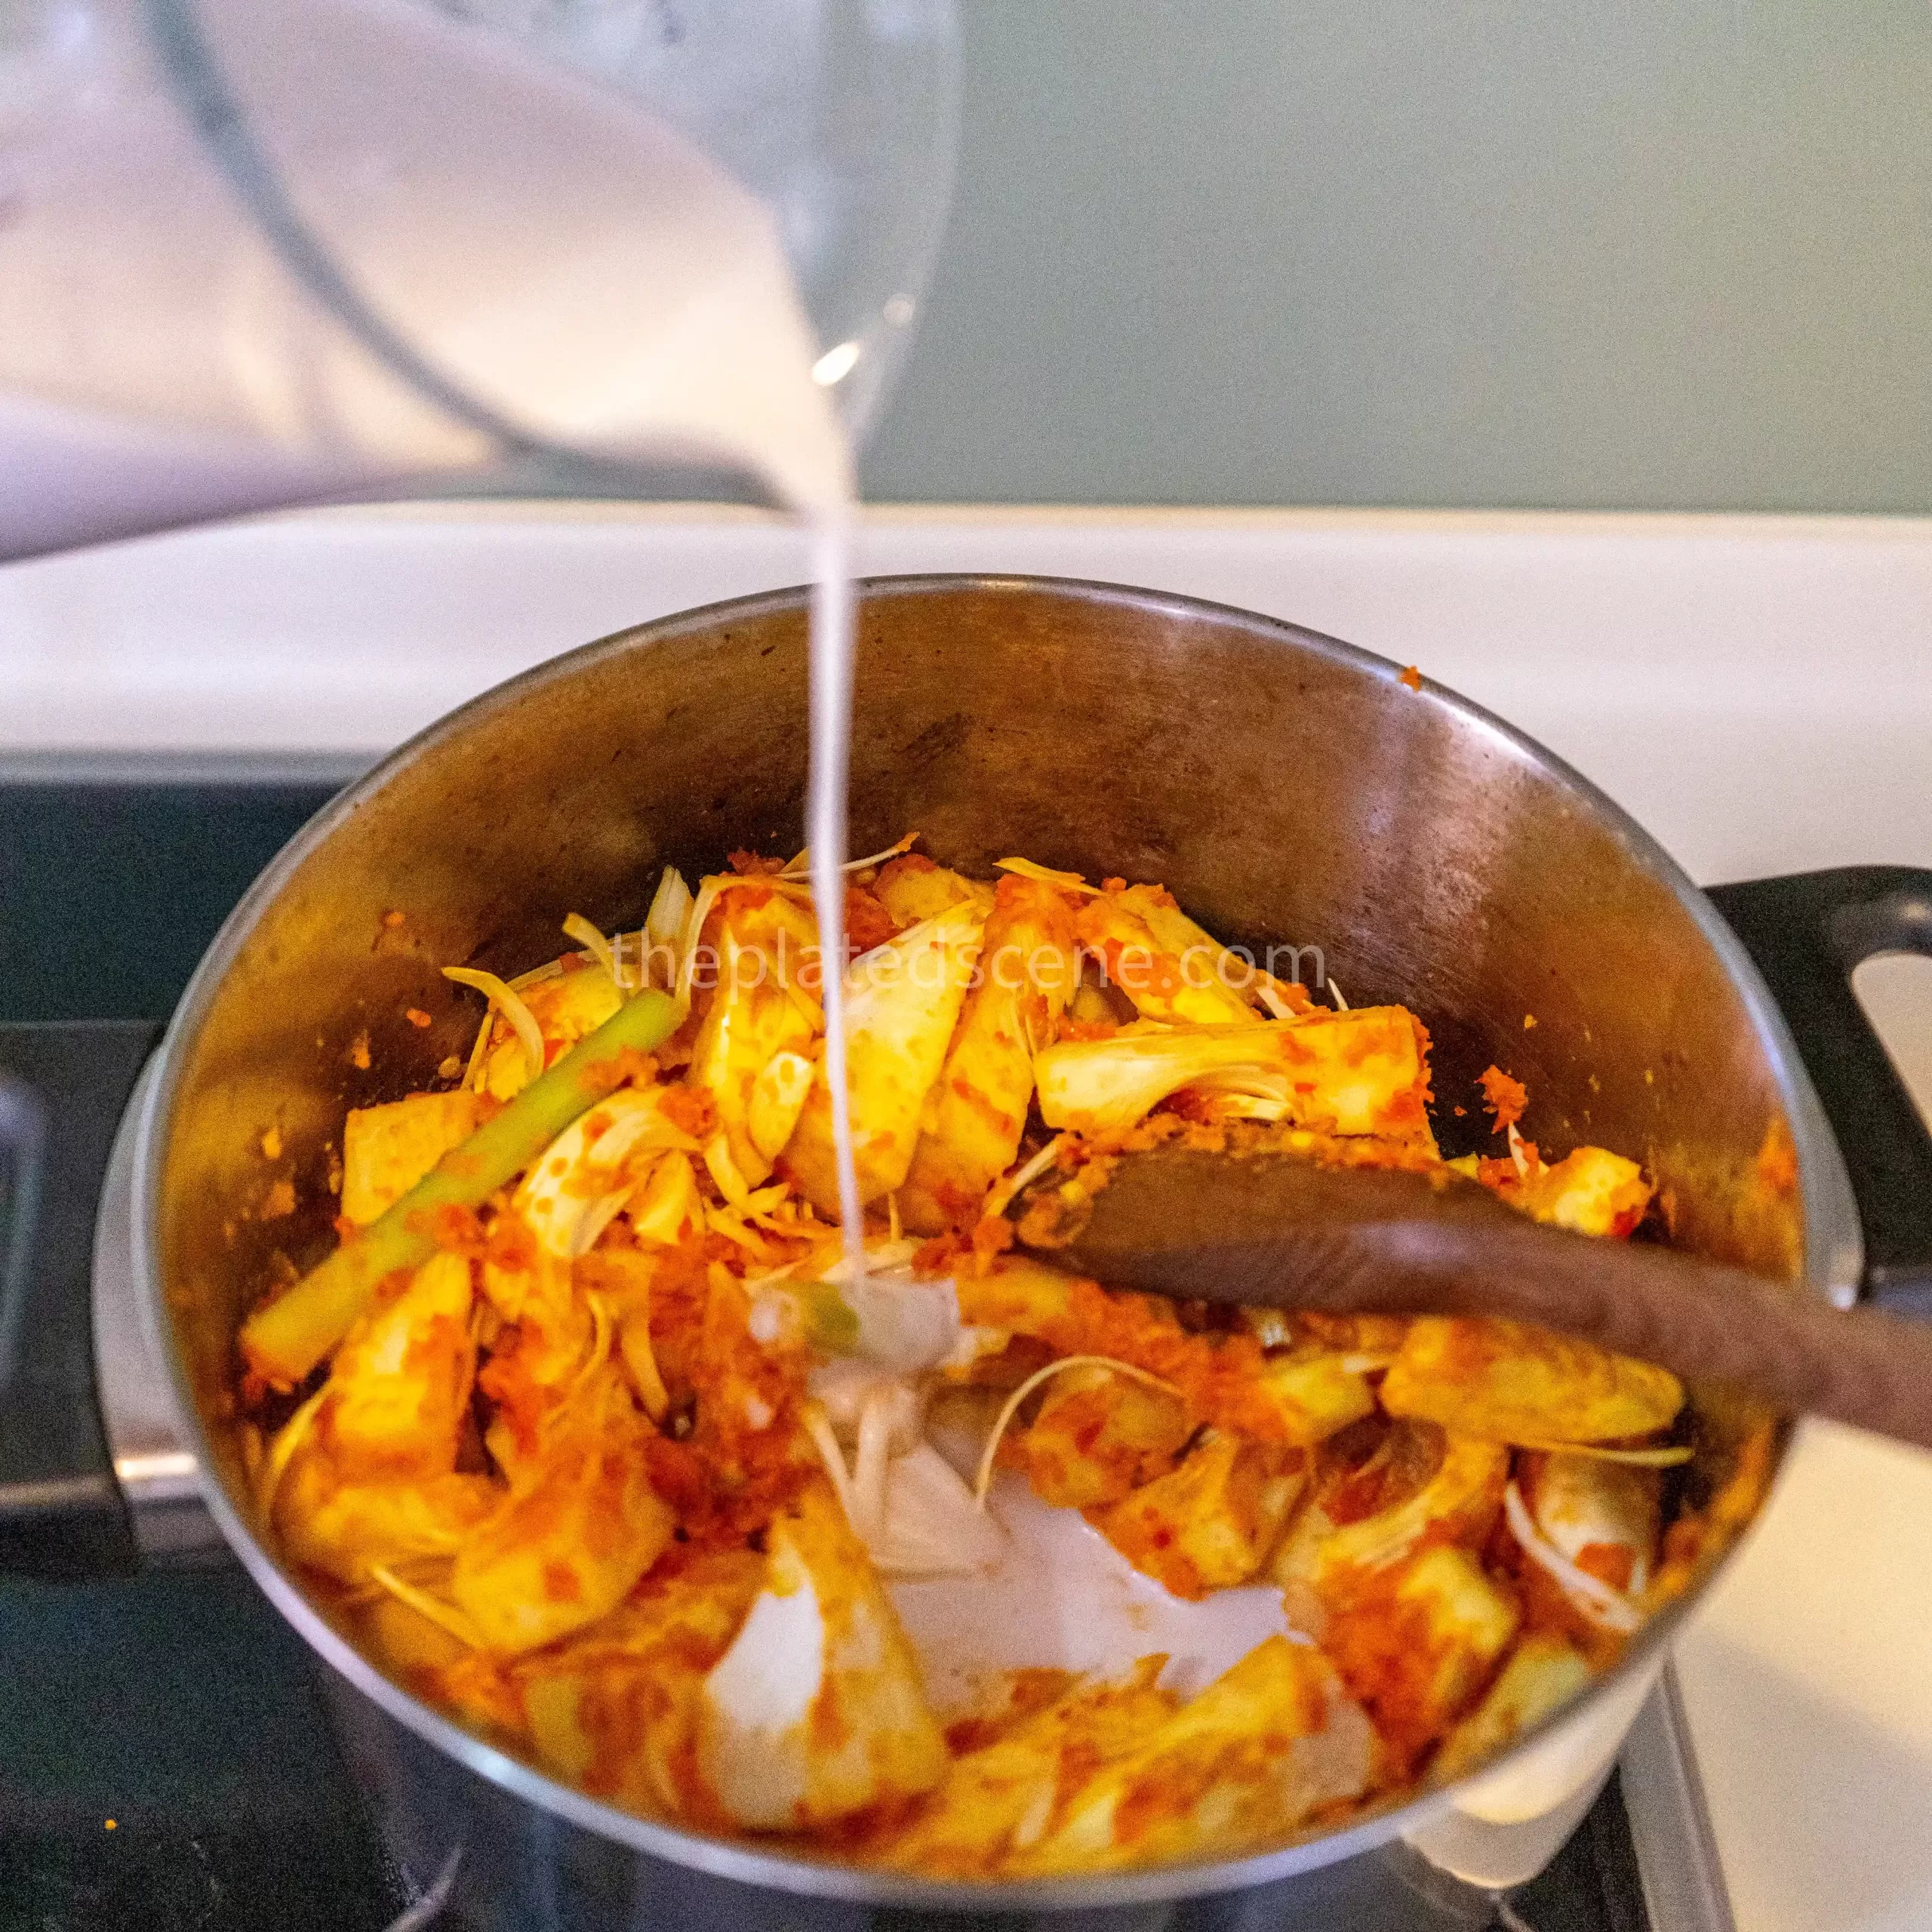
Grab the coconut milk and slowly pour it into the pot, continue mixing it until all is even. Add water to reduce the thickness of the gravy. Cover the pot and wait until all of the water is boiling. You can lower the heat; therefore, the boiling process will be slower and increase the absorption of the seasoning into the jackfruit. Occasionally, stir the mix. During this step, make sure all of the jackfruit has been fully cooked and become soft. Taste the gulai nangka and season it with the salt and mushroom stock up to your preference.
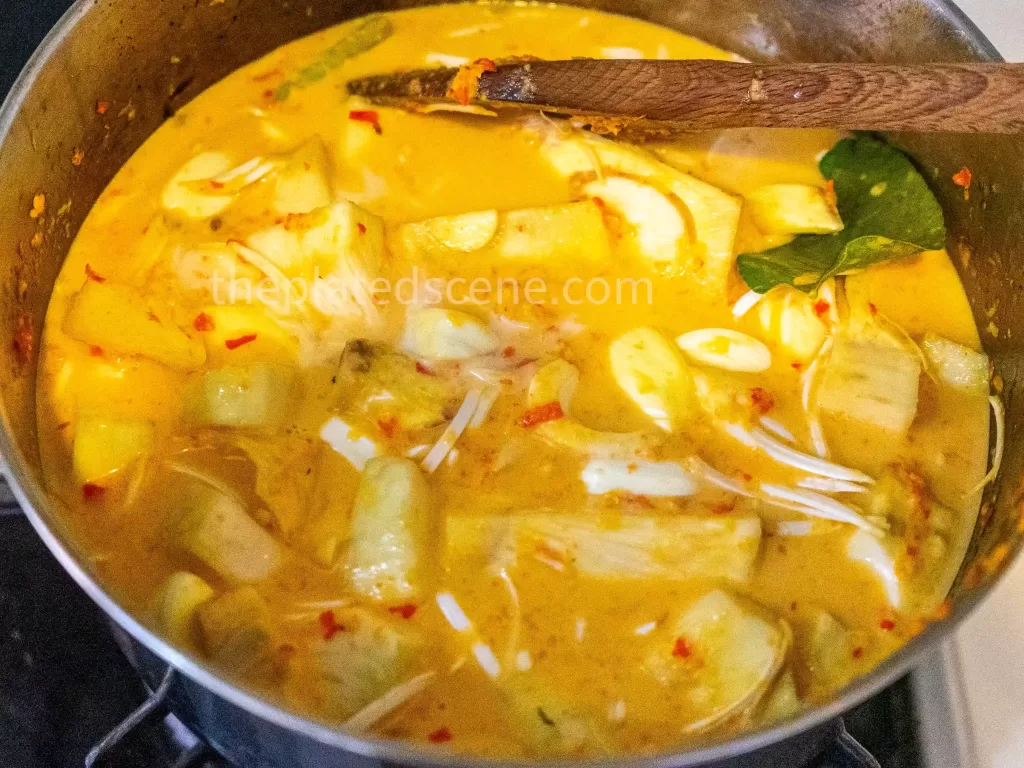
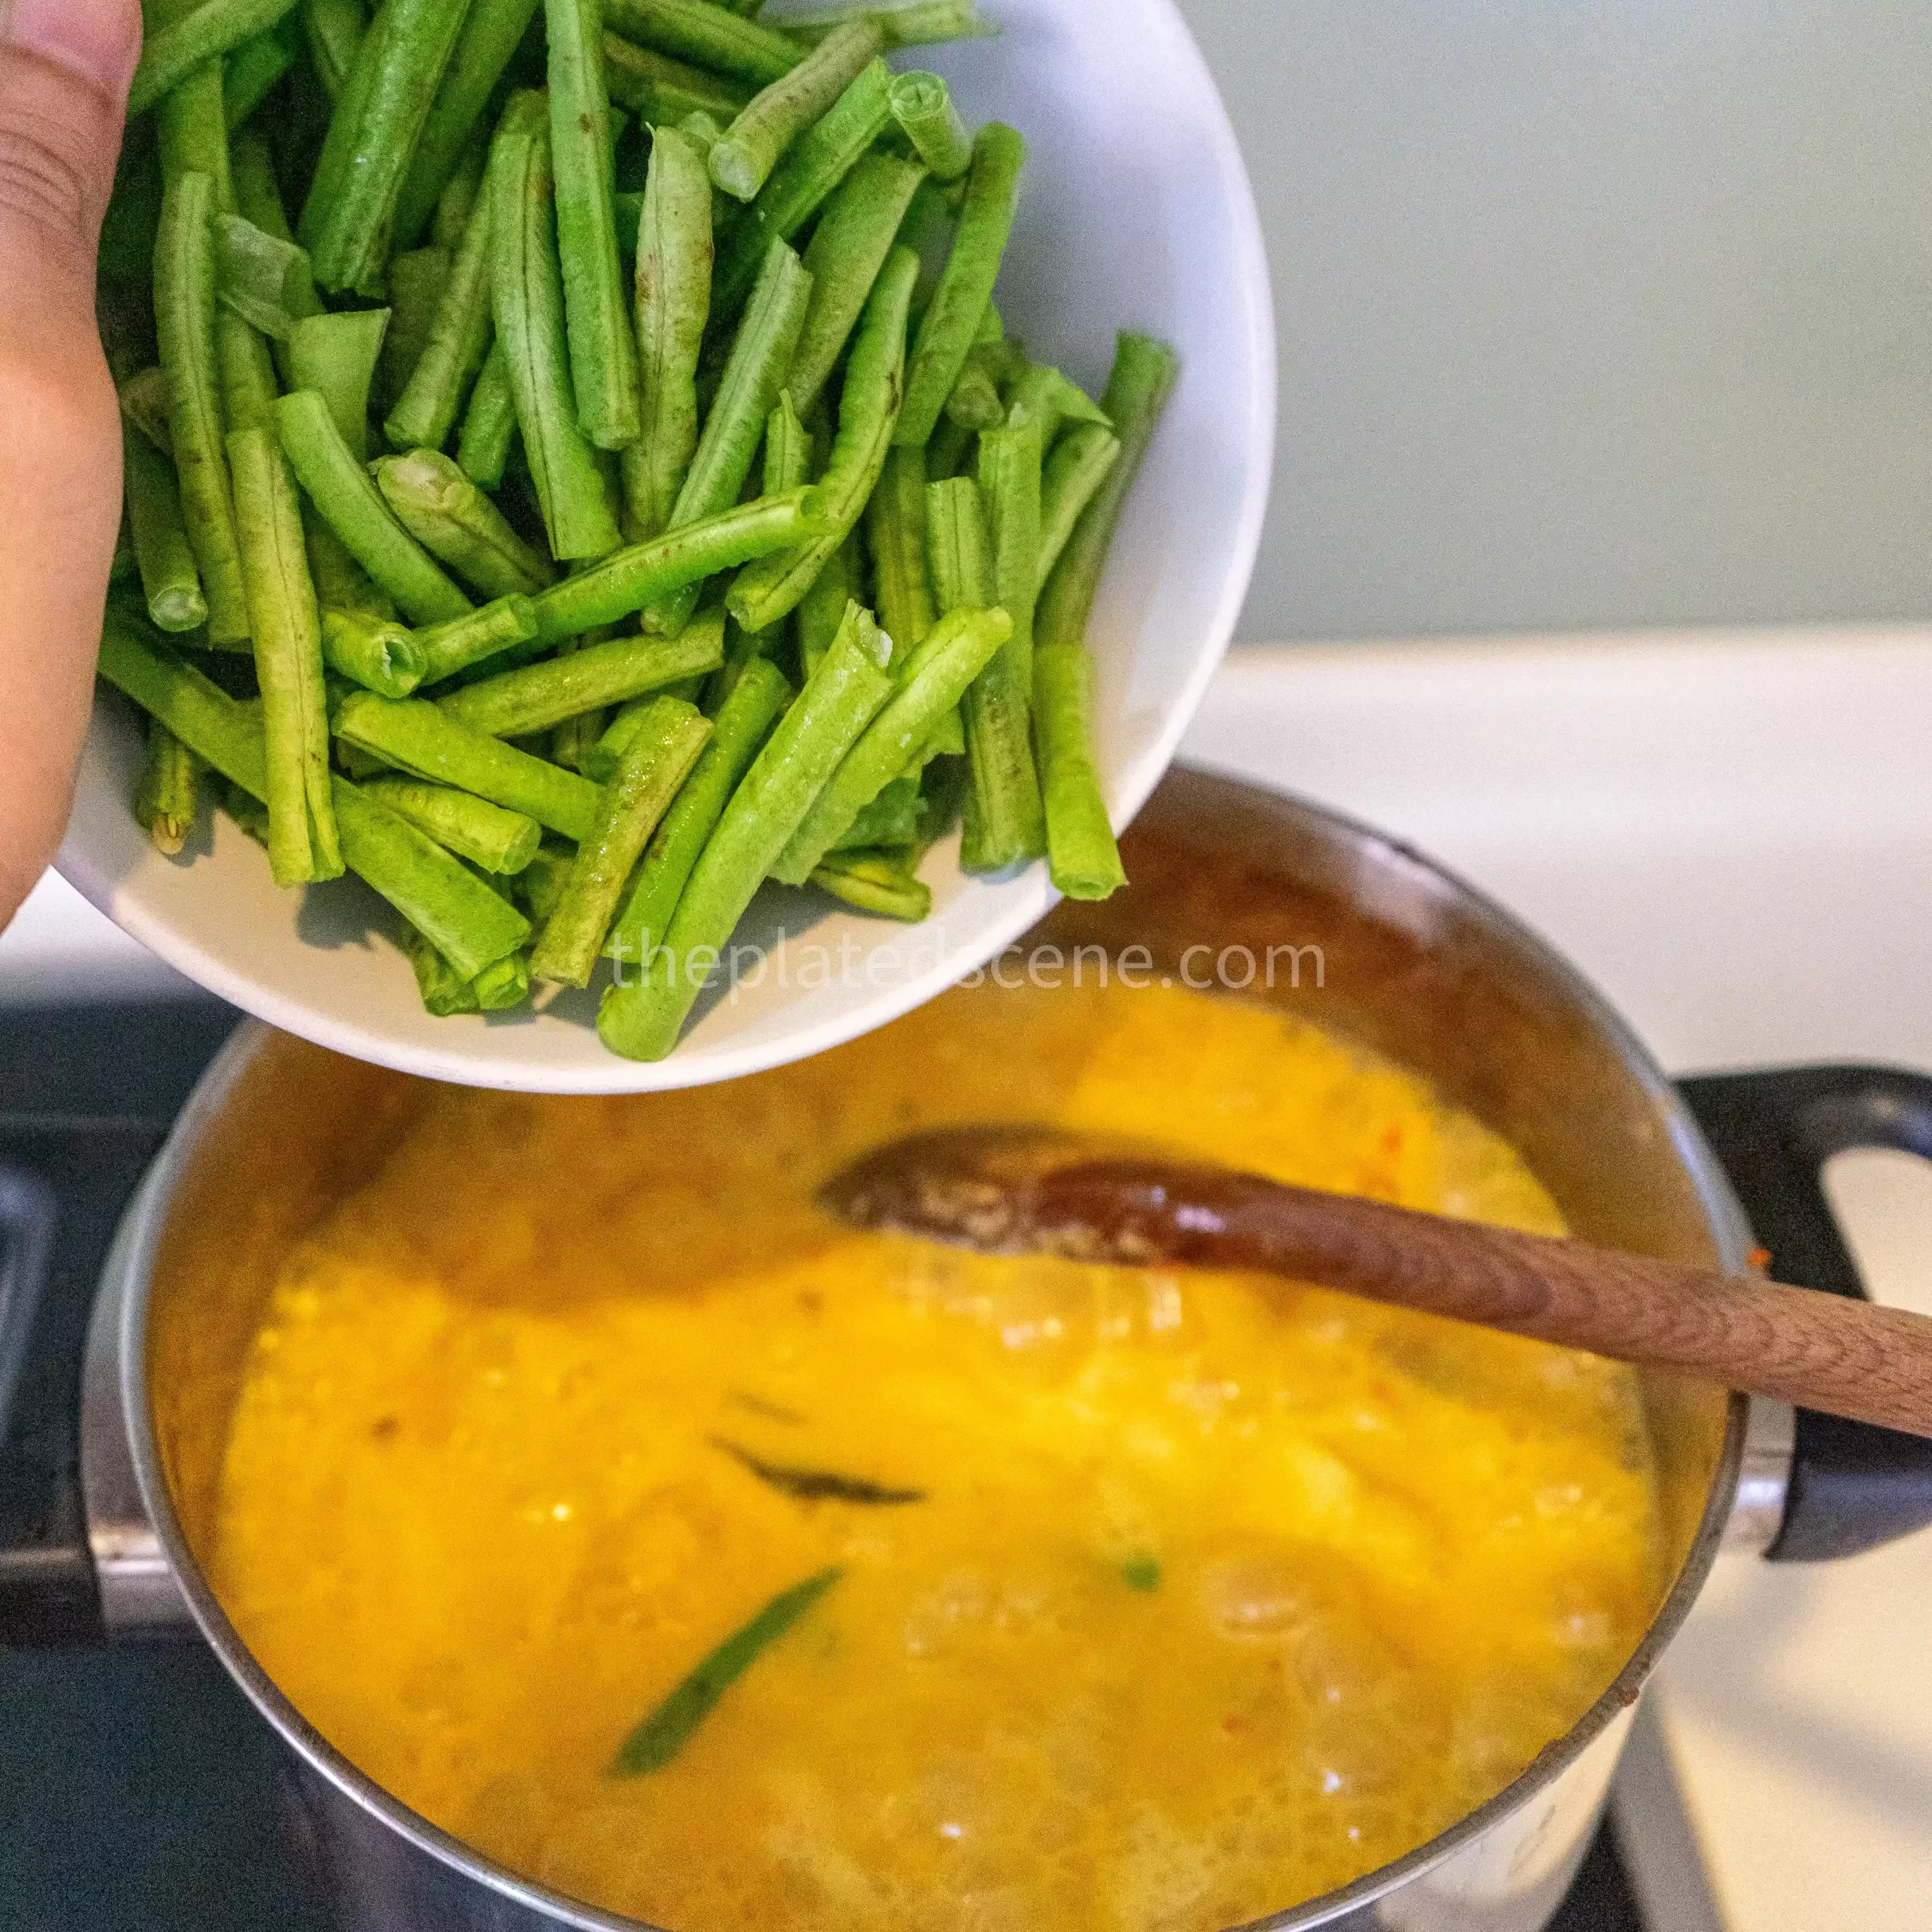
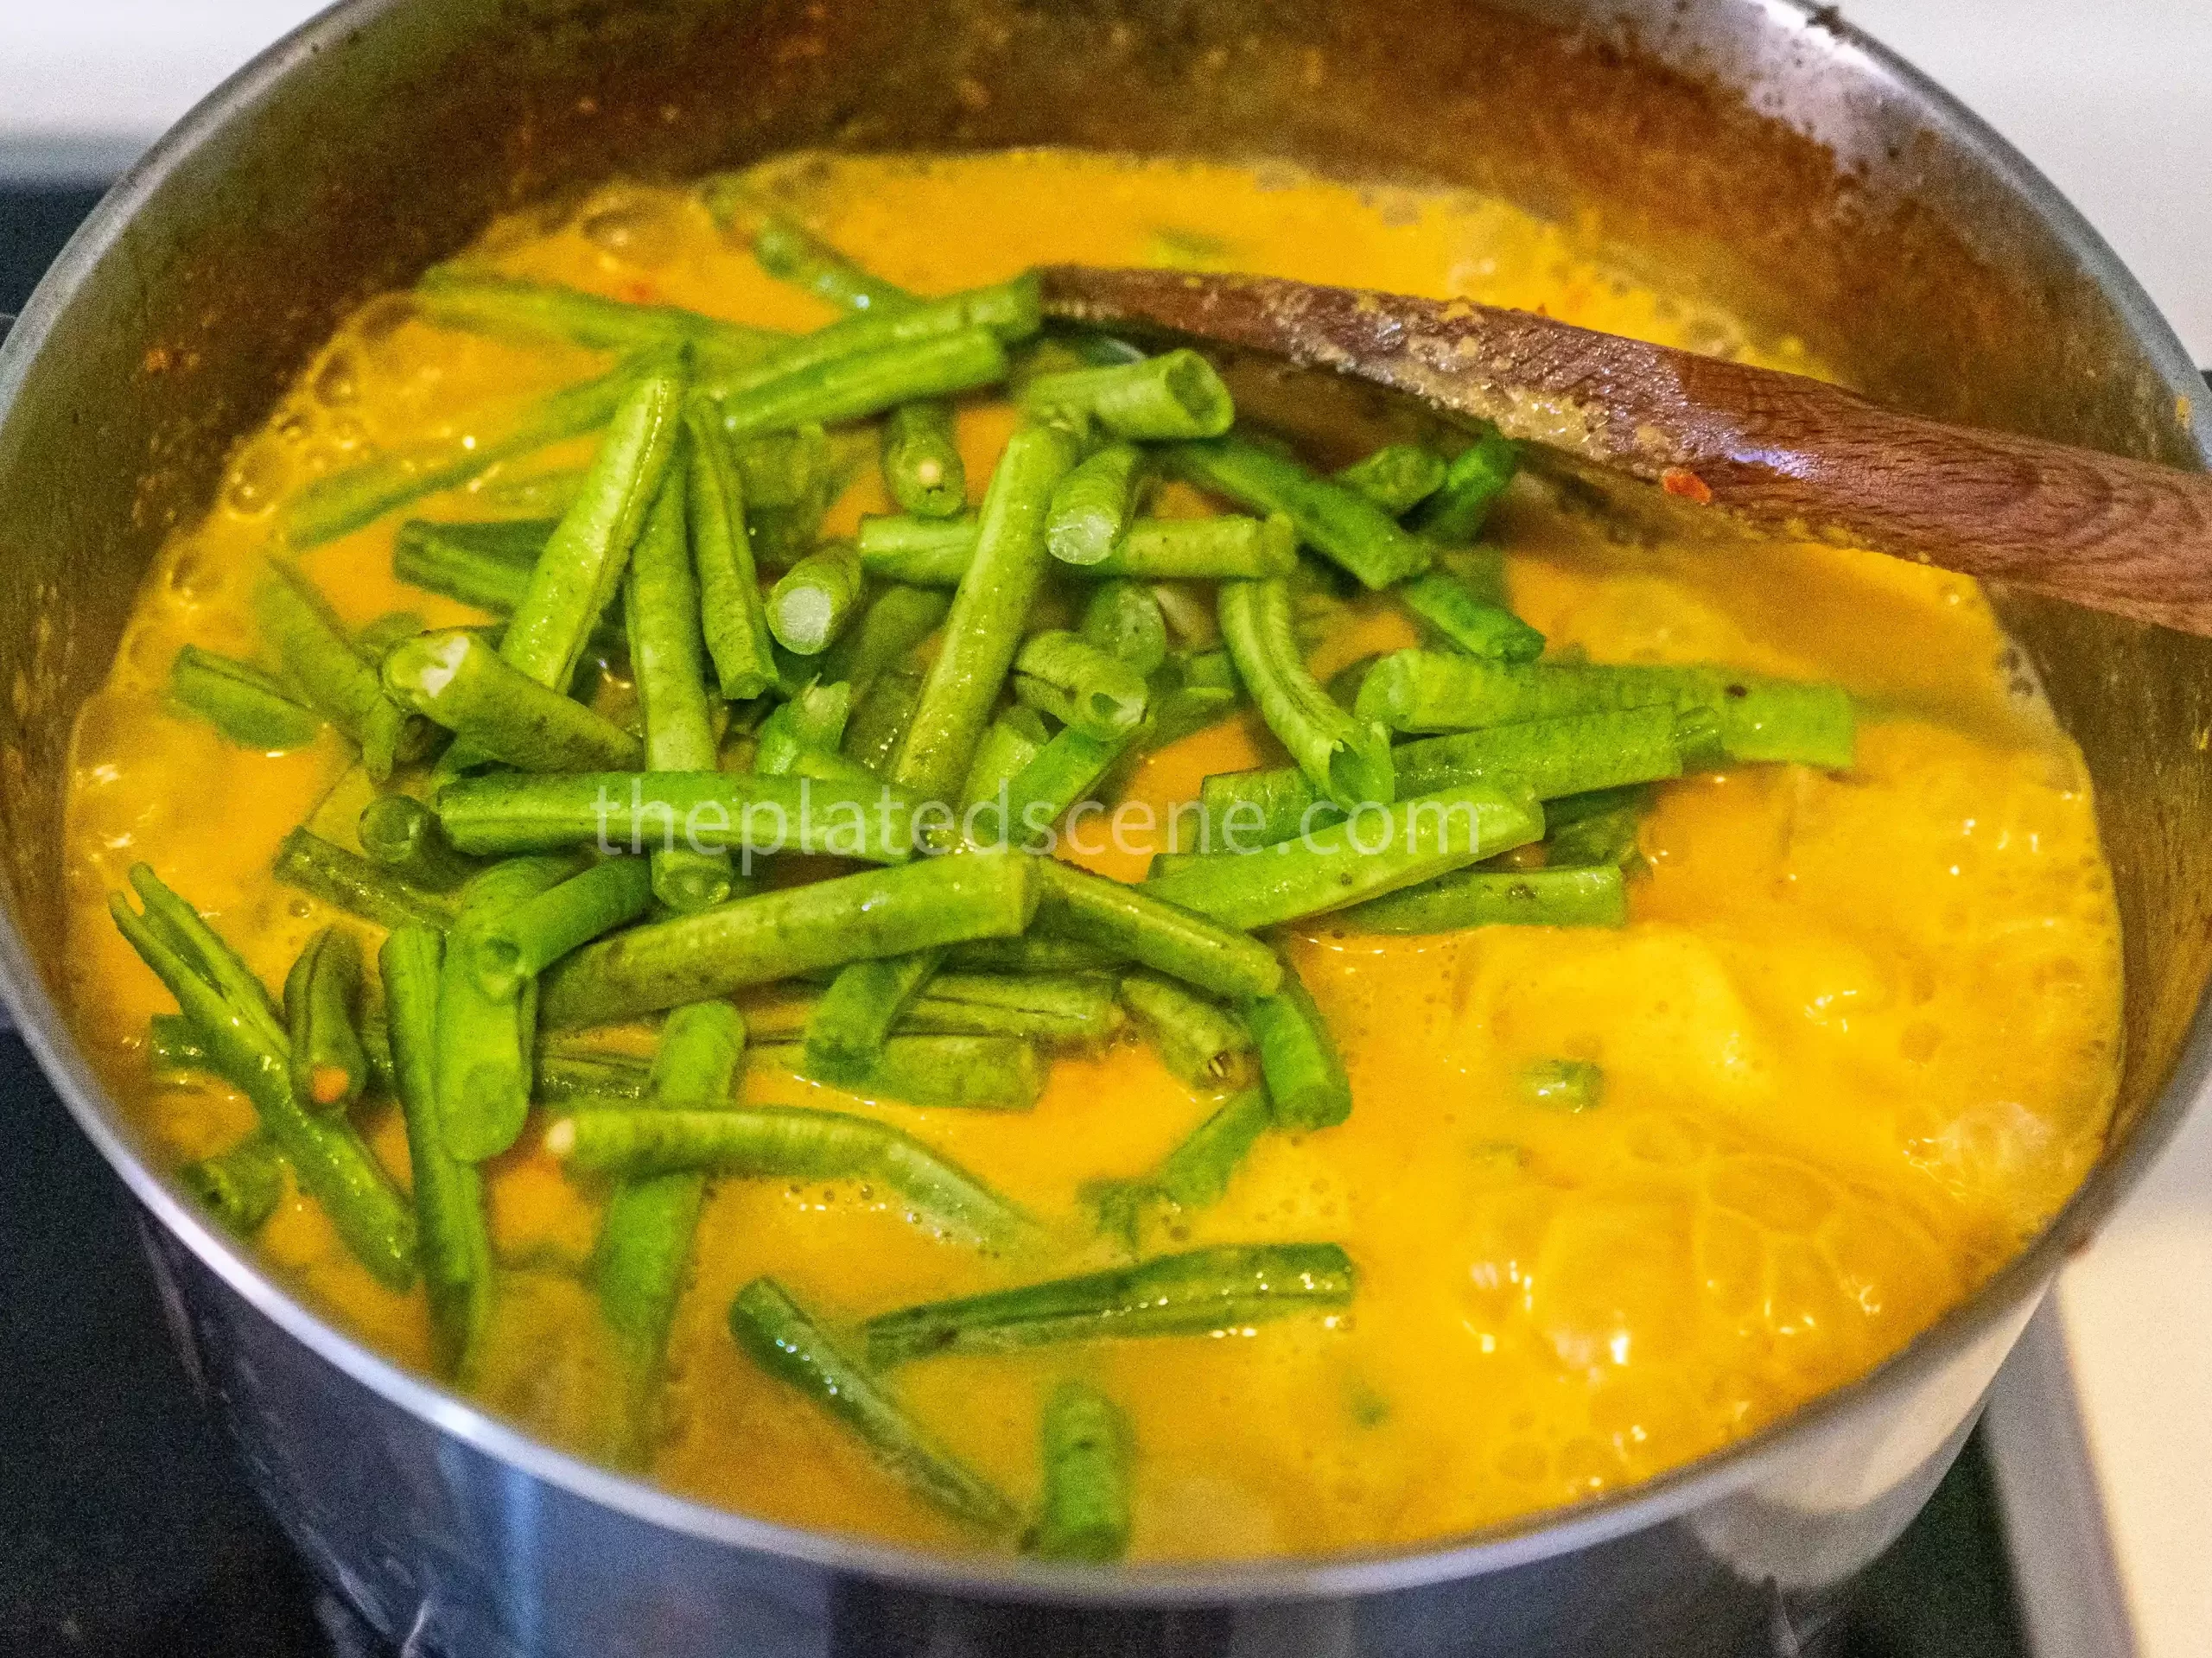
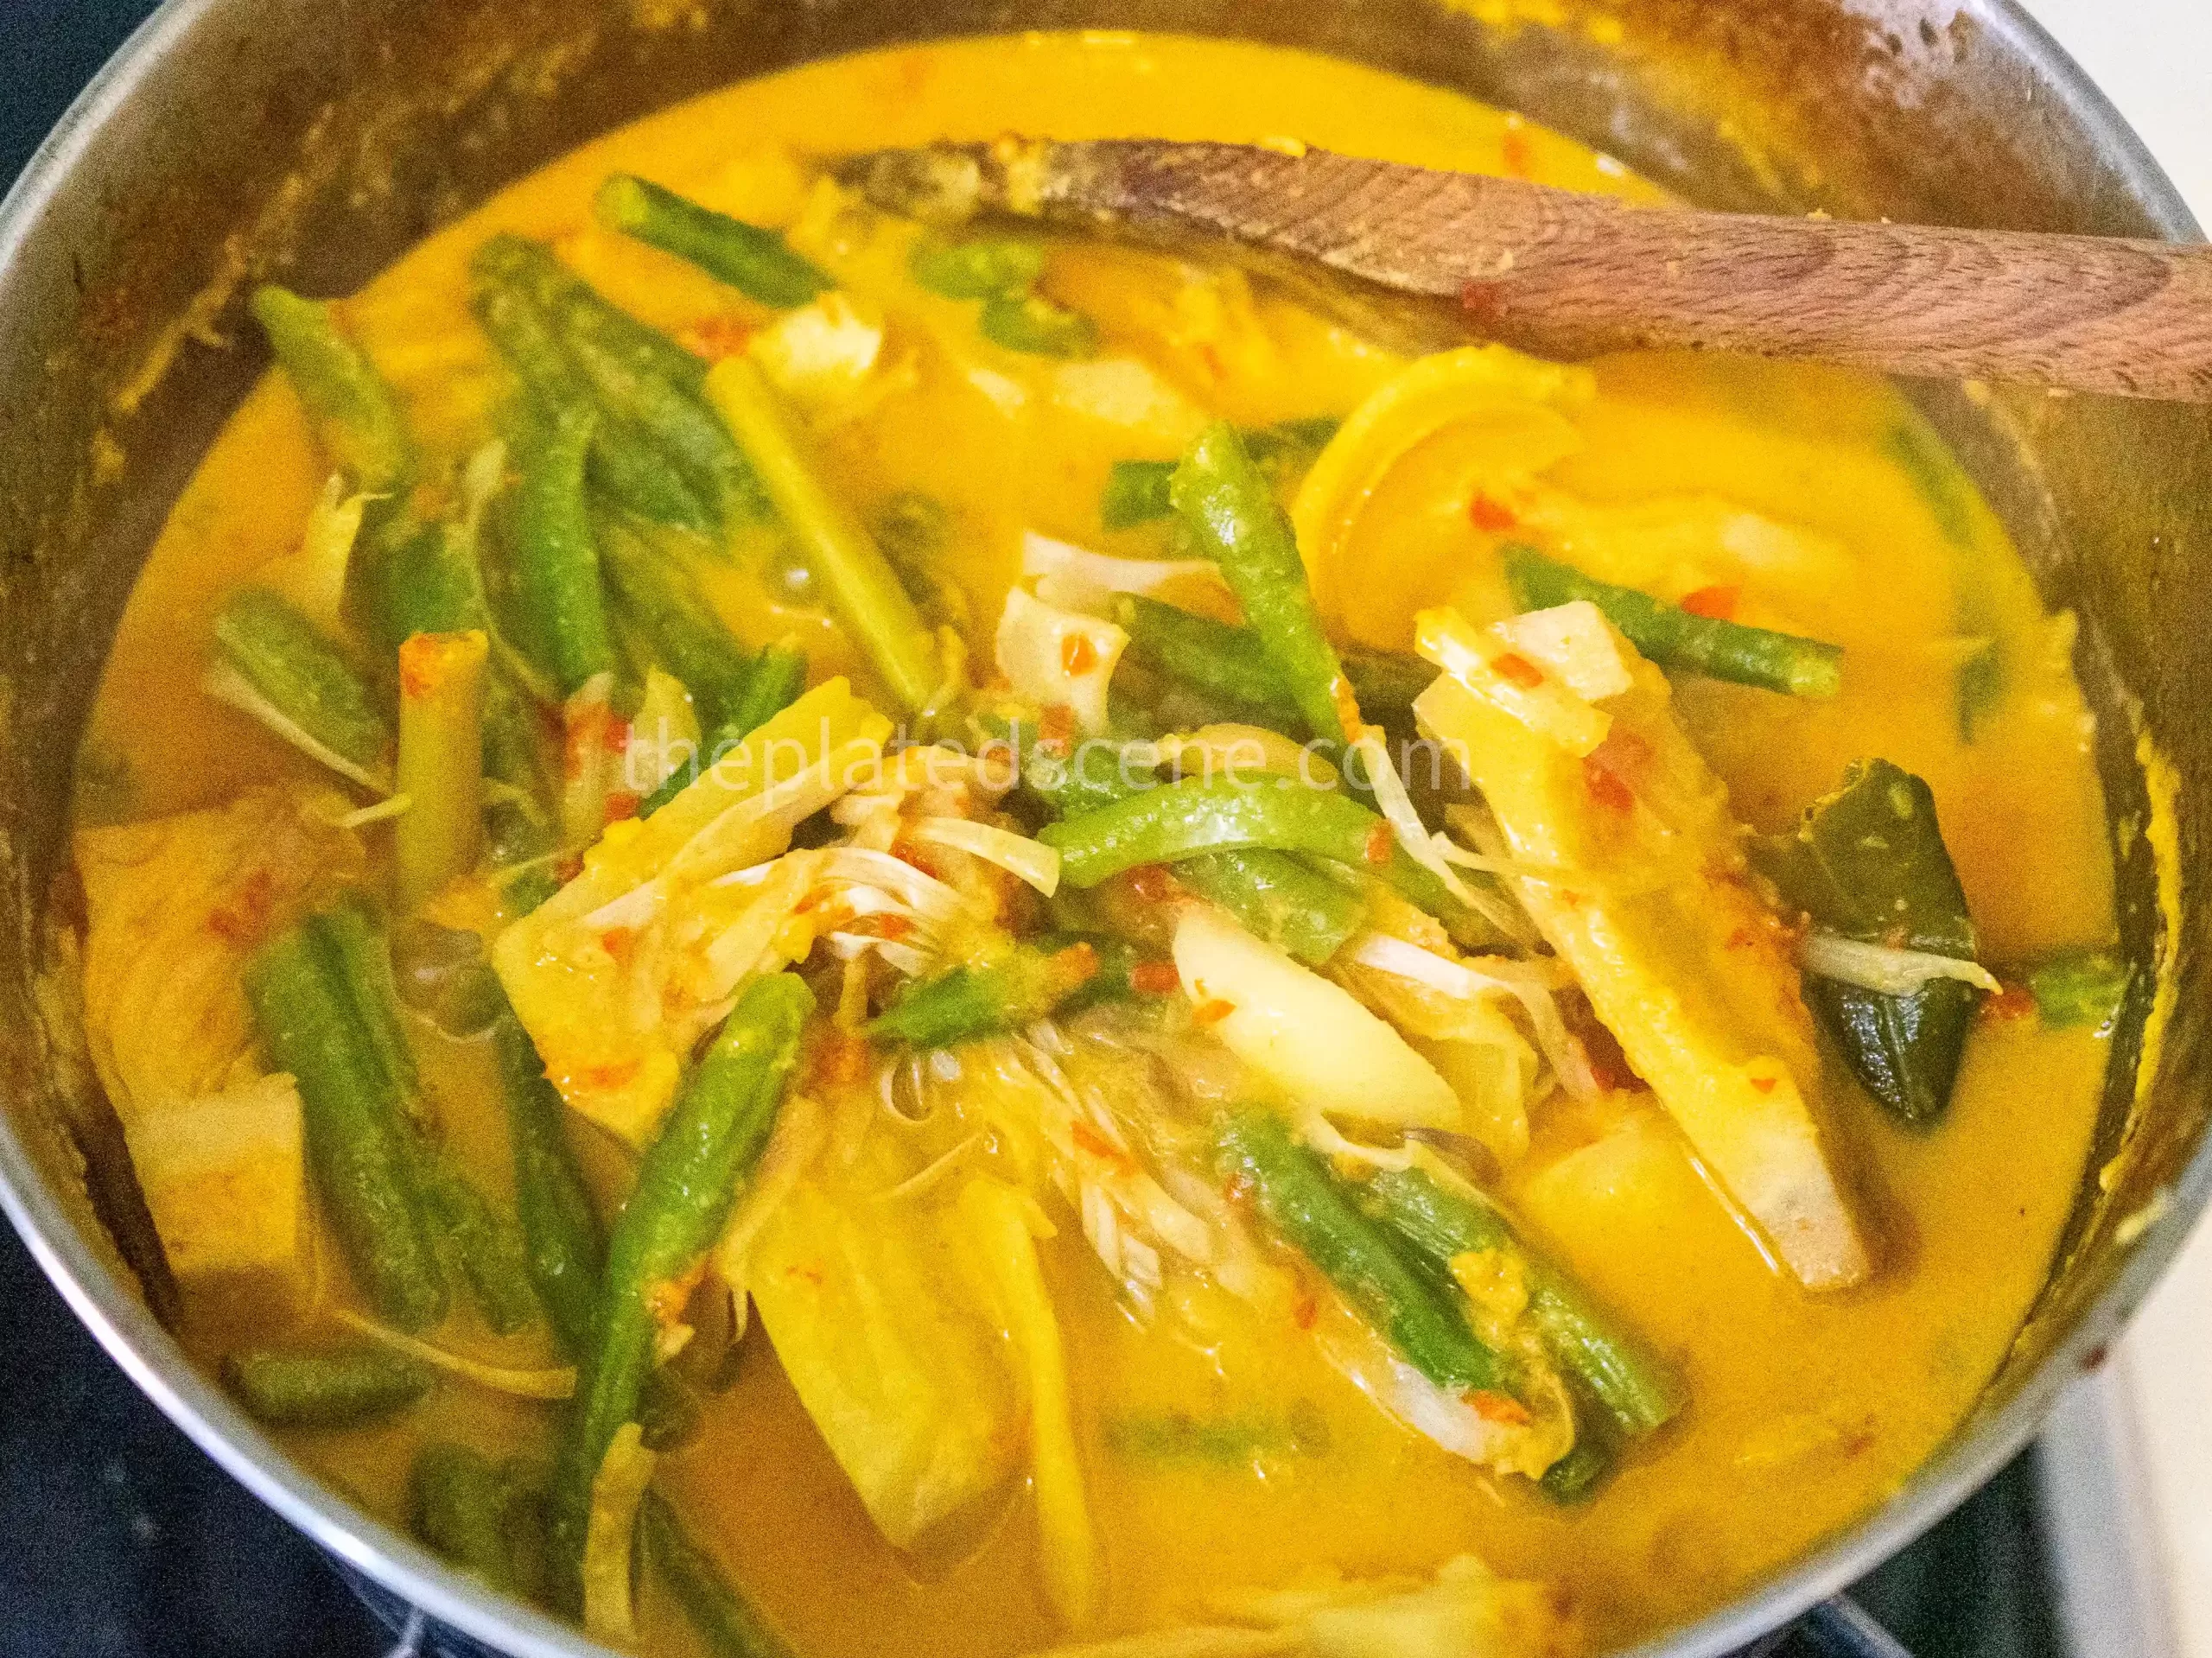
5. Add the long bean (or/and cabbage) to the pot. After that your gulai nangka is ready to be served 🙂
This is the final step, put the long bean and/or cabbage (optional) into the pot. Mix evenly and wait until all of these vegetables are fully cooked. Enjoy 🙂
Gulai Nangka Storing Instruction
There are two ways to store this gulai nangka: the regular way and the traditional Indonesian way. I usually use the traditional method, but it is up to your comfort level and preference.
Regular Method
The regular method is simple: put the dish into the food container and store it in the fridge. It will be good for up to 5-7 days. You should thaw it before consuming it by heating it in a microwave for 1-2 minutes.
Traditional Indonesian Method
The traditional Indonesian way probably is a little bit unusual for you. I guess people used it in the past because they didn’t have refrigerators and/or microwaves. The technique here is to keep it in the pot, but you have to reboil it until it bubbles twice a day:
- The first is at night. After this nighttime boil, please ensure the gulai is not stirred by any spoon.
- The second is in the morning. There are no restrictions on the no-stirring policy after this.
I guess the purpose of that boiling process is to eliminate the bacteria that will make the gulai turn bad (similar to the sterilization process). The purpose of the no-stirring policy is to ensure that no new bacteria are being reinduced. However, it works. If you forget to boil it just one time, your gulai definitely will turn bad, and you don’t want that to happen! This method will make the gulai last for 3-4 days.
I usually prefer this method because the boiling process makes the gulai taste even better on the second day! All of the seasoning and gravy is soaked into the jackfruit and makes the taste of the dish rich.
So what are you waiting for? Let’s make this recipe, and please share your experience with me 🙂
Other recipes that you might love
- Vegan Mushroom Satay with Peanut Sauce
- Spiced Tofu in Banana Leaves (Pepes Tahu)
- Indonesian Sambal (Chili Paste)
- Vegan Mie Goreng (Fried Noodle)


2 comments
[…] Vegan […]
[…] Vegan […]
Comments are closed.